Breville Flush Not Working – Troubleshooting Tips

by | Coffee

The flush cleaning cycle is an essential step to maintain the performance of your Breville espresso machine. Flushing is also a necessary step during the initial setup of your coffee maker. It is easy to perform; however, many people encounter various issues where the flush cleaning cycle seems to work differently than it should or stops prematurely. For this reason, we have prepared a straightforward explanation of how the flush cleaning cycle should run and troubleshooting tips.

Troubleshooting Breville’s Flushing Function

Here are three main issues you might encounter during the flush cleaning cycle:

  1. No water is coming out of the portafilter – is it normal?
  2. The water during the flush cleaning cycle is coming out of the portafilter
  3. First use cycle not working – initial flush troubleshooting

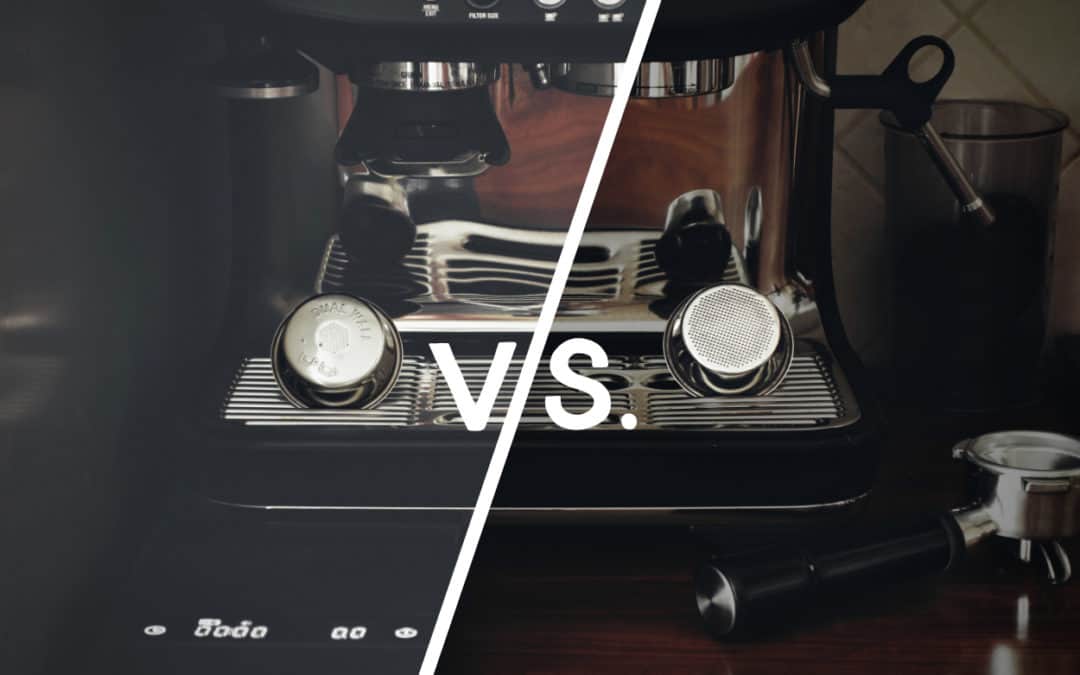
No Water is Coming Out of the Portafilter – Is It Normal?

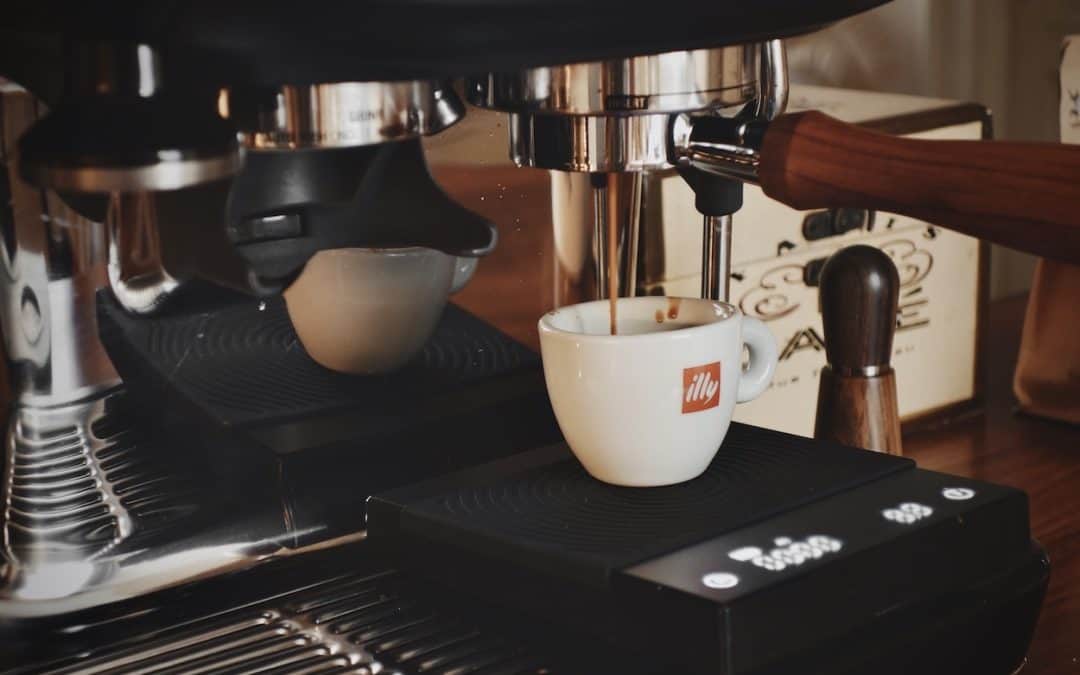
During the flush cleaning cycle, it is normal that no water is coming out of the portafilter. The water drains into the drip tray. This is because the cleaning disc blocks the portafilter and pushes the water with the dissolved tablet back into the machine, cleaning the inner parts. However, there are instances when some water will come out of the portafilter. We will explain them in the following paragraph.

The Water During the Flush Cleaning Cycle Is Coming Out of the Portafilter

Water will come out of the portafilter during the flush cleaning cycle in older Breville machines. This is because they came with a cleaning disc that has a tiny hole in the middle, allowing some water to pass through the portafilter. The remaining water drains into the drip tray.

Unfortunately, many people get confused when they see in the manuals and tutorials that no water should be coming out of the portafilter. This makes them think something is wrong with their machine or that they are doing something incorrectly. But in reality, the flush cleaning cycle is working properly.

Breville changed the design of the disc. The newer espresso machines come with a cleaning disc with no hole in the middle, so no water is coming out of the portafilter. We have contacted Breville Support, which confirmed that both discs can be used in all Breville espresso machines.

We also found further information that using the disc without the hole is a better cleaning method. This way, all of the water with the detergent will pass through the machine’s inner parts, cleaning them more thoroughly. If you are about to purchase a new cleaning disc, we recommend choosing the updated version without the hole (Amazon link for the 54mm).

TIP: If you own the Breville Barista Pro, check out our dedicated article, where you will find a detailed explanation of the flush cleaning cycle.

First Use Cycle Not Working – Initial Flush Troubleshooting

Flushing is essential before the first use of a new Breville espresso machine. It is a part of the first use cycle and should be straightforward. Unfortunately, some people report that the initial flushing stops after a few seconds. This is most likely caused by air bubbles in the water filter. To fix the initial flushing:

  1. Remove the water tank from the machine and fill it to the max line.
  2. Unplug the water filter from the socket, turn it upside down and shake it to release any remaining bubbles.
  3. Lock the filter back into the tank. The critical step is to keep the filter submerged during the whole process.
  4. Lock the water tank back into place and perform the initial flush.
Breville Flush Not Working

If letting the air bubbles out of the water filter won’t fix the initial flush, we recommend removing the water filter and trying the initial flush again. If it works, it means that there is still some air trapped inside the filter and that you must repeat the process described above.

Air bubbles in the water filter can prevent the machine from pulling water, so you might not be able to perform the flush cycle or pull a shot.

If you liked the post, follow us for more. Thank you!

As an Amazon Associate, I earn from qualifying purchases. It won’t cost you anything extra, but it helps support this site. Thank you for your support!

0 Comments

Submit a Comment

Your email address will not be published. Required fields are marked *

How to wash Hoka One One shoes

How to wash Hoka One One shoes

If you own a pair of Hoka One One shoes, you are probably a serious runner, and in no time, you will have to deal with the question, how to clean your Hoka shoes to keep them in the best condition as long as possible. After my husband’s 100k Ultra SkyMarathon championship, I spent some time researching just that. Since I have not found any washing tips on the official Hoka One One website, and the answer was a bit hidden in the internet web, I have created this post to spare you some time.

The best way to wash Hoka One One shoes

The best way to clean Hoka shoes, is to hand wash them with warm water, soap, and a sponge. After washing let your Hoka’s air dry in a well-ventilated area away from direct sunlight or source of excessive heat such as radiator. Below you can find a step-by-step guide on how to wash Hoka shoes.

Can you wash Hoka One One shoes in the washing machine?

Washing Hoka One One footwear in the washing machine is not advised by Hoka due to the possible damage.

How to dry Hoka One One shoes

After washing your Hoka One One shoes, let them air dry. If you haven’t done it earlier, remove the insole (if possible) to dry separately. Depending on the room’s ambient temperature, humidity, etc., air drying Hoka shoes will take about twelve hours. If you would prefer a much faster way to dry your shoes check out our dedicated article, where we have tested five safe ways to dry shoes fast on our Hoka shoe collection.

If you decide to air dry your shoes, don’t leave them in the sun since it might damage them (the shoes might change coloring, shrink, etc.). If you live in an apartment, a great place to air dry your shoes is a window sill.

Hoka One One emphasizes that you should not put the shoes into the dryer because the heat will cause damage. You should also avoid drying your Hoka shoes near any source of excessive heat, such as a radiator.

Do not put them into the dryer because the heat will cause damage!


How I wash Hoka One One shoes

1.  Remove the laces and the insole and wash them separately with warm water and soap.
2.  Shake off any loose dirt from the shoe (some might have been hidden under the insole).
3.  Wash the shoe thoroughly with warm water, soap (optional), and a sponge. I also use a soft brush for the sole. An effective way to wash the fabric thoroughly is to rub your hands against each other while holding the fabric with one hand from the inside and the other from the outside under the running water until the water is clear. Repeat this process all over the shoe.
4.  In the end, fill the shoe with water and pour it out several times to rinse the inside of the shoe.
5.  Let the laces, insole, and shoes dry.

Here is the before and after.

How to wash Hoka One One shoes I HomeExplained.com

About the Author

Patricia is a co-founder, writer, and graphic designer for Home Explained. She enjoys sharing practical how-to’s, interesting comparisons, and home improvement tips and tricks, all inspired by her real-life experiences. With a master’s degree in economics, Patricia has analytical skills, which are reflected in her research and the content of her posts.

As an Amazon Associate, I earn from qualifying purchases. If you purchase anything using Amazon links on this website, I will get a tiny commission. It doesn’t cost you a thing but helps this website grow.

Thank you for your support!

Recent Posts

Breville Knock Box vs. Knock Box Mini: Which Should You Get?

Breville Knock Box vs. Knock Box Mini: Which Should You Get?

The Breville Knock Box (BCB100) and the Breville Knock Box Mini (BES001XL or BES100GBUK) are some of the best knock boxes on the market. They are made with high-quality materials and are super simple to use. In this short review, we will compare these two models to...