If you’re looking to keep your whetstone in place while sharpening your knives, you’ll want to read on! In this blog post, we will discuss different ways to prevent a whetstone from slipping. Whether you’re looking for a DIY solution or a professional setup, we have something for everyone! We’ll also provide tips and tricks on making the most of your sharpening station.
3 DIY Ways to Keep Your Whetstone From Sliding
To firmly secure your sharpening stone, you don’t need to buy a professional setup. You can easily secure your sharpening stone using everyday household items that are cheap but still effective. Even professional stone sharpeners use them occasionally. So let’s look at your options:
Damp Towel
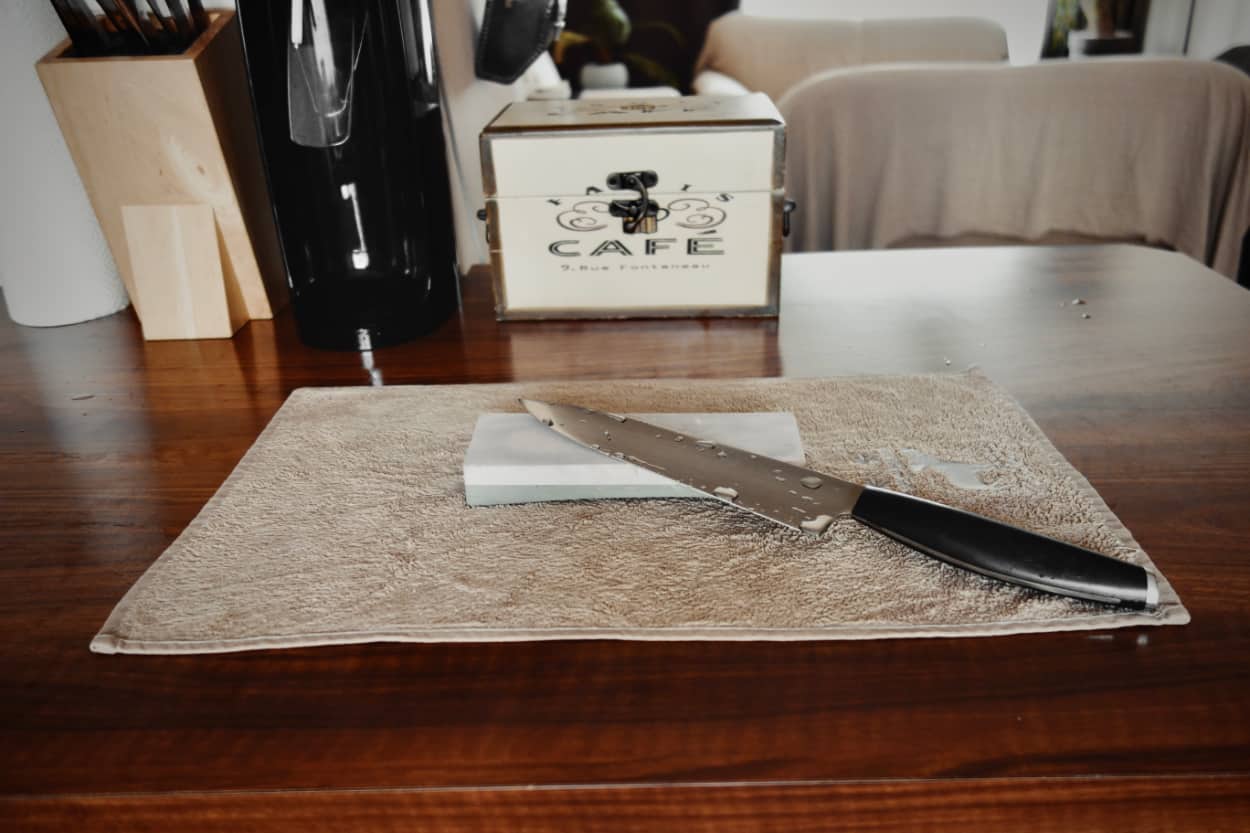
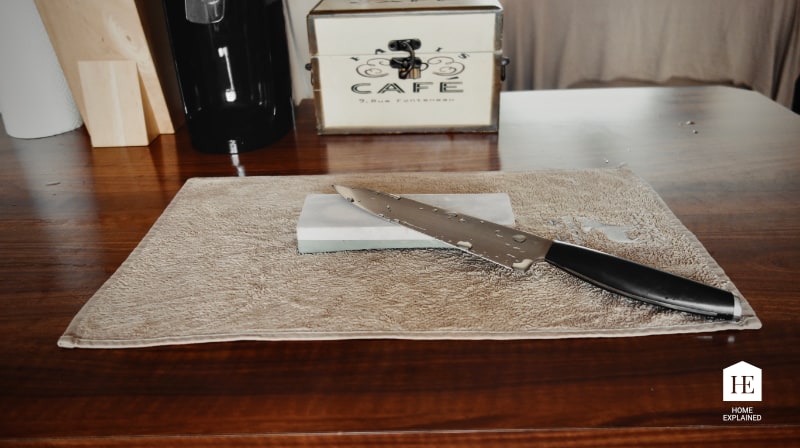
The easiest solution is to put a damp towel under the stone. It is as easy as it sounds. Besides securing the stone, you will always have a towel on hand to wipe your knife.
Shelf Liner
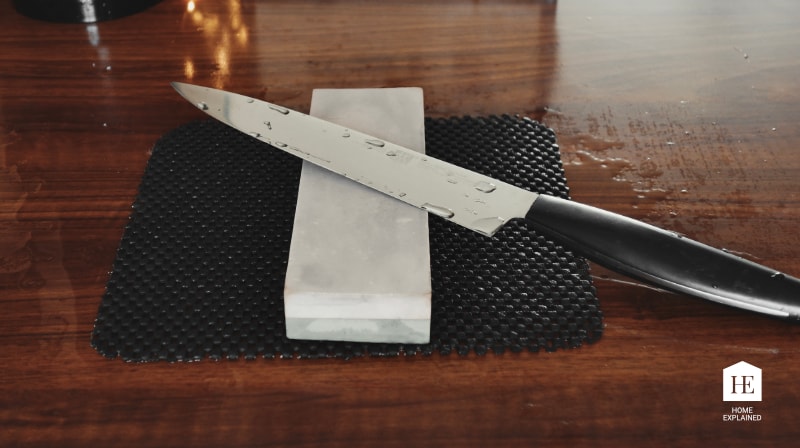
Another great way to stop your whetstone from sliding is to use a shelf liner (Amazon link) (or something similar, like a rug pad gripper, etc.). A shelf liner also has the advantage of being easy to cut to any size you wish, and it dries quicker than a towel, making it easier to store.
Silicone Mat
You can also use a silicone mat to keep your stone in place. You can find various types on Amazon. From silicone sheets for crafts to silicone pet food mats. We recommend choosing a mat with high edges since this will provide an additional advantage in preventing water from dripping all over your countertop. Another thing to look out for is the design pressed onto the mat. Some mats have various designs, such as paws, etc., that might cause the stone to be unstable. Here is a silicone mat that we recommend (Amazon link).
How to Upgrade Your DIY Whetstone Setup
All three DIY solutions can be upgraded with a simple trick: raising the whetstone, so you don’t hit your knuckles into the counter. All you will need is something sturdy to give height to the setup, like, e.g., a loaf pan or a brick. Below we have prepared two options to go about it, but there are many creative ways to do the same thing.
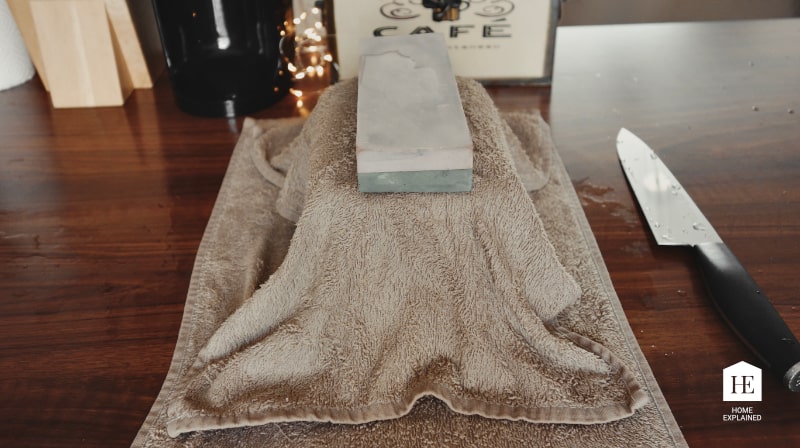
Option 1: Wrap a brick in a damp towel or a shelf liner and place it on the counter. Now put the whetstone on top, and you’re done. As a bonus, you can put a silicone mat under the wrapped brick. It will provide additional grip and also catch dripping water, so you will make less mess while sharpening.
Option 2: Another easy solution to stop your stone from sliding with the bonus of a high base is to put a damp cloth on the counter, set a loaf pan on it, place another damp cloth over the pan and finally put the whetstone on top.
How to Make a DIY Whetstone Holder
If you don’t want to use a brick or a loaf pan, you can make your own whetstone holder. For this, you will need a 2×4 and 6 finishing nails. Cut the 2×4 to be around 4 inches longer than your stone (2 inches from each side), set the stone in the middle of the 2×4, and trace it around. Put the stone aside and hammer the nails into 6 spots around the stone on the line you traced out (2 on each wide side and 1 on each short side). Ensure that the nails are lower than the top of the stone, so they do not interfere with the sharpening process. Now the only thing left is to secure the holder from sliding. You can use any of the tools described above – put a silicone mat, a shelf liner, or a damp cloth under it, or attach rubber feet to the bottom of the holder.
Two Professional Ways to Keep a Whetstone in Place
If you’re looking for a complete solution to keep your whetstones in place and make your sharpening process easier, here are two main options:
Whetstone Holder
A whetstone holder is a great budget-friendly tool to stop your stone from sliding. It can easily secure various whetstone sizes. Another benefit of the holder is that if you decide to upgrade your station over time, you can use the whetstone holder with other professional tools.
Cheaper models might not be made of stainless steel, so if you don’t want to see any rust, look for a stainless-steel option. A great stainless-steel holder is made by Naniwa (Amazon link). It is wider than lower-end alternatives, providing better stability while sharpening. If you are looking for a cheaper option, check out the Steelex holder (Amazon link).
Sink Bridge
A whetstone sink bridge is the most well-rounded option to secure your whetstone. A sink bridge may be placed on a sink or a bin, allowing you to create a sharpening station anywhere you want. On the other hand, it has a higher price tag, so it is best suited for those who are prepared to spend a bit extra on their sharpening equipment.
There are many types of sink bridges to select from; if you are looking for the best value option, we recommend the DMD (Amazon link) or Zwilling sink bridge (Amazon link). Both will provide a stable base for sharpening without the need for other tools to secure the stone.
Bear in mind that not every sink bridge can be used on its own. For example, this excellent sink bridge by Naniwa (Amazon link) used by many professional sharpeners has to be used with a stone holder. This will raise the cost of your setup.
How to Get the Most out of a Sink Bridge
If you do a lot of sharpening on soaking whetstones and don’t want to be limited to mounting your sink bridge on a sink, you can upgrade your setup by buying a food tray. You can choose from 2.5-inch, 4, and 6 inches deep options. The 2.5-inch tray (Amazon link) is the handiest and easy to store. If you are doing a lot of sharpening, you might want to opt for the 4-inch one (Amazon link). The 6 inches deep tray (Amazon link) is perfect for those who want to place their stone higher. The trays come in clear, amber, and black colors.
We hope we have created a helpful guide and you will find a solution that works best for you. Happy sharpening!




0 Comments