
In this article, you will learn how to clean the Breville Barista Pro espresso machine. We have prepared a complete list of all cleaning steps for your Barista, from the basic cleaning after every use to the regular maintenance, which is essential to maintain the espresso machine’s performance for years to come.
Table of Contents
Cleaning After Every Use
1. Cleaning the group head
2. Rinsing the portafilter and the basket
3. Cleaning the steam wand
Periodical Cleaning
1. Cleaning the drip tray
2. Cleaning the grinder and the hopper
3. Cleaning the water tank
Cleaning When Prompted
1. Descaling
2. Flushing
3. Changing the water filter
How Often Should You Clean Your Breville Barista Pro?
The Barista Pro should be cleaned after every use. This includes its most-used components like group head, portafilter, filter basket, and steam wand. Other parts have to be cleaned periodically, ranging from days to weeks, depending on the number of espressos you make per day. It may sound complicated, but don’t worry. We have prepared a structured, comprehensive cleaning guide that will help you learn and schedule all the cleaning steps that your coffee machine needs.
To make the cleaning easier, we have divided it into four categories based on how frequently it should be done. This way, you’ll never forget any of the steps.
A) Cleaning After Every Use
B) Periodical Cleaning
C) Cleaning When Prompted
Cleaning the Barista Pro After Every Use
After each use we recommend that you perform the following simple cleaning procedures:
1. Cleaning the group head
2. Rinsing the portafilter and the basket
3. Cleaning the steam wand
You can avoid future problems if you make them a habit.
1. How to Clean Barista Pro’s Group Head
The group head should be cleaned after every use. Breville recommends two different approaches. The method that we prefer is to purge the group head before and after every shot. To purge the group head of your coffe machine, put the portafilter with an empty filter basket into the group head, press the 2 CUP button and let the water flow for a couple of seconds to rinse any residual coffee. Press the 2 CUP button to stop the water. When you are done purging, make sure to rinse the portafilter and basket with hot water from any residual coffee.
TIP: Before you make an espresso make sure to dry the filter basket.
The second approach that Breville recommends is wiping the interior and shower screen of the group head with a damp cloth after each use and purging the group head periodically.

Deep Clean of the Group Head
There is a more thorough cleaning process of the group head called the flush cleaning cycle. You will learn more about it further in this article.
2. How to Clean Barista Pro’s Portafilter and Filter Basket
The Barista’s portafilter should be cleaned after every use. To clean the portafilter and the filter basket, rinse them under hot water to remove any residual coffee oils. You can do this procedure under the running group head.

If any filter basket holes remain clogged, use the pin on the Breville cleaning tool to unclog them. In case the cleaning tool didn’t help, Breville advises dissolving a cleaning tablet (Amazon link) in hot water and soaking the basket and portafilter for approx. 20 min. Then rinse thoroughly.

Is Breville’s Portafilter Dishwasher Safe?
No, Breville advises against cleaning the Barista Pro’s portafilter and filter basket in a dishwasher. The dishwashers may weaken the metal, while some detergents may harm the materials of the portafilter housing.
3. How to Clean the Steam Wand
Cleaning the steam wand on your Barista is a must. Breville explicitly states that you should always clean the steam wand after each use. First, wipe the steam wand with a clean damp cloth and follow with purging for a couple of seconds. To do so, set the steam wand over the drip tray, turn the STEAM dial to steam and let the machine create steam for a couple of seconds. Finish by turning the STEAM dial back to the default position. If the steam wand is clogged, follow the steps explained below.

TIP: To keep good hygiene, use a dedicated cloth to wipe the steam wand.
How to Unclog the Steam Wand on the Breville Barista
To unclog the steam wand use the steam wand cleaning tool that came with your Breville machine – use the exposed, thicker needle. If it is still blocked, unscrew the tip of the steam wand using the spanner in the middle of the same cleaning tool. Soak the tip in hot water and try to unblock it again with the cleaning tool. When you are done, put back the tip on the steam wand using the spanner. Unclogging the steam wand is essential since if the steam tip hole is blocked, it will reduce the frothing performance.
Periodical Cleaning
Periodic cleaning should be done every couple of days or weeks, depending on how frequently you use your coffee machine. This includes:
1. Cleaning the drip tray
2. Cleaning the grinder and the hopper
3. Cleaning the water tank
1. Cleaning the Drip Tray
The drip tray should be emptied and cleaned regularly, at the latest when the Empty Me! indicator is visible, but it is better to do it more often. Otherwise, the drip tray can get slimy.
To empty the drip tray, pull it out of the machine and remove the top parts (the metal grill and the plastic cover) and pour out the water. Afterward, clean the drip tray by washing all parts in warm soapy water with a soft cloth, and rinse well. Breville advises drying all parts thoroughly before reassembling the drip tray and putting it back in the machine.
TIP: You can also remove the Empty Me! indicator by simply pulling upwards to release the side latches.
Tip for a Quick Drip Tray Rinse
Besides the regular cleaning, we like to do a quick rinse throughout the week. To do so, empty the drip tray without disassembling it through the back hole, pour a bit of clean water inside the tray, gently shake it and pour out the dirty water.
Is Breville’s drip tray dishwasher safe?
The Barista Pro’s drip tray can not go into the dishwasher. It should only be cleaned by hand. Also, make sure not to use any abrasive cleansers, pads, etc., which can scratch the surface.
How to Clean the Hidden Storage Box
Behind the drip tray, there is a small storage box (tray), which can also be removed and cleaned with a soft, damp cloth. We recommend cleaning it from time to time since it tends to get wet.
2. How to Clean Coffee Grinder
WARNING! Take extra care when cleaning the grinder as grinder burrs are extremely sharp.
The Barista Pro’s coffee grinder should be cleaned on a regular basis in order for it to operate correctly. To do basic cleaning of the coffee grinder, follow these instructions:
- If you have beans in the hopper, unlock it, empty it, and lock it back into place.
- Run the grinder empty for a couple of seconds.
- Unlock and remove the hopper.
- Vacuum all bean residue from the top burr.
- Unlock the top burr (lift the little handle and turn it counterclockwise, moving the red arrow from the LOCK to the ALIGN sign).
- Remove the top burr pulling it upwards, and brush away any residual coffee grounds with Breville’s cleaning brush if necessary.
- Vacuum the lower burr and clean it with the brush if necessary.
- Clean the chute with the brush.
- Put the top burr back into place and lock it (you should hear a click when locked). Make sure to lay the little handle flat.
- Lock the hopper back into place.


How Often Should You Clean Breville’s Coffee Grinder?
The coffee grinder should be cleaned every 2-3 weeks. This is the time frame Breville recommends if you make from two to five espresso’s a day. In our case, we make two double shots per day and clean the coffee grinder every time we start using fresh beans. It is a simple way to keep regular grinder maintenance and, on top of that, ensure that you won’t mix new and old beans.
3. Cleaning the Breville Barista’s Water Tank
Cleaning the water tank should not be neglected. Since the water tank is continuously wet, in time, it can get slimy, and for sure, you don’t want to drink coffee made from such water. Before cleaning the water tank, make sure to remove the water filter. To clean the water tank, use warm water and a gentle dishwashing liquid. Then rinse thoroughly. When putting the filter back, we advise first to fill the water tank with water, submerge the water filter, let out all air bubbles, and install it into place. If you leave air bubbles inside the water filter, the machine may not be able to pull water properly.

How Often Should You Clean Barista Pro’s Water Tank
Breville advises cleaning the water tank after 2-3 weeks if you make 2-5 cups of coffee per day.
Cleaning When Prompted
The Barista Pro has handy reminders that will help you do regular maintenance, which includes:
1. Descaling
2. Flushing
3. Changing the water filter
1. Descaling
Descaling is one of the most important cleaning steps of an espresso machine. It removes mineral buildup from internal components. Neglecting this step might result in reduced brewing flow and temperature, and it can impact the taste of your coffee. The Barista Pro has a dedicated Descaling Cycle, and it will remind you with a descale alert that it is time for this cycle. How often the reminder pops up depends on the hardness of your water—harder water results in more frequent descaling.
We have prepared a dedicated article that explains how to descale the Breville Barista Pro and answer common questions regarding the descaling cycle.
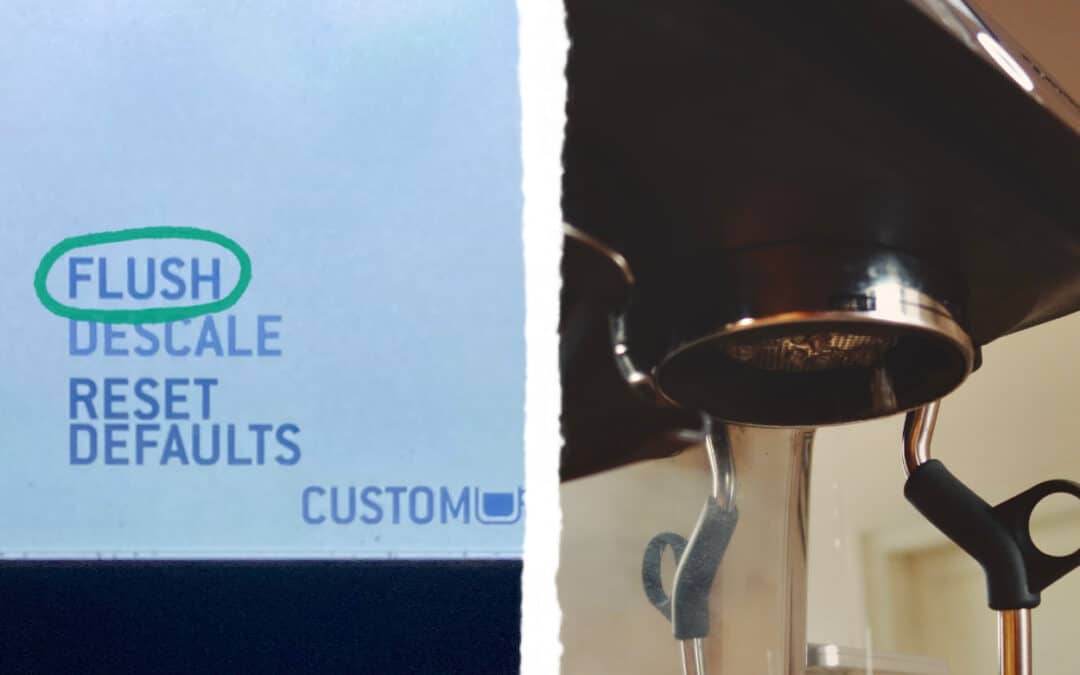
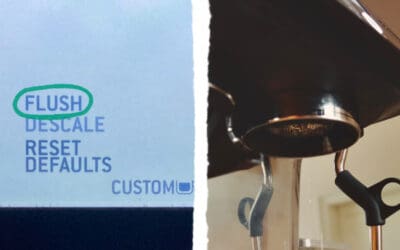
2. Flushing
The flush cleaning cycle (also known as backflush) cleans oil residue from the group head. You will be notified with a FLUSH alert that the flush cleaning cycle is due. To learn how to perform the flush cleaning cycle and what cleaning tablets to use, take a look at our dedicated post.
3. Changing the Filter
Changing the water filter regularly helps maintain a consistent taste of your coffee and reduces the need for descaling. The Barista Pro’s water filter has a reminder that you can manually set to the month in which you want to replace the filter. You will find all you need to know about changing the Barista Pro’s water filter, as well as tips on which filters to buy in our dedicated post here.


0 Comments