
Cleaning a Brita pitcher is usually easy, but some models, like the Lake Water pitcher, have a handle design that can trap dirt which seems impossible to clean. But there is a simple solution. Keep reading for a step-by-step guide on how to clean the Brita pitcher’s handle quickly and easily.
Disclaimer: This is not an official Brita guide to disassembling the handle. Although this method works, you must do it at your own risk, as it may void the warranty.
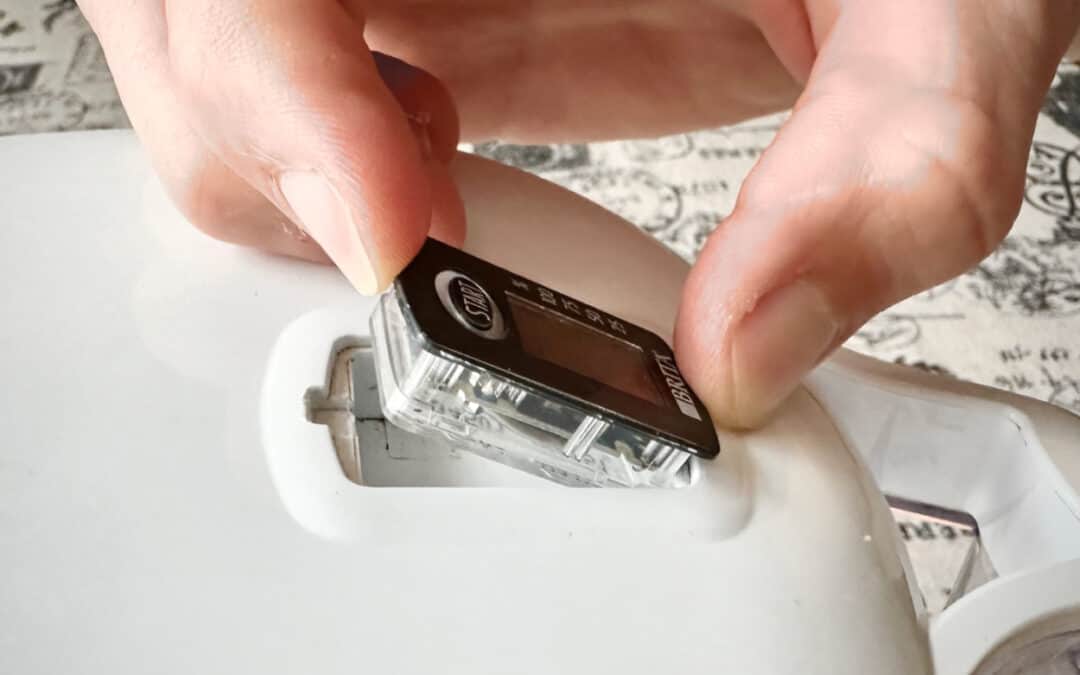
Disassembling the Handle
To thoroughly clean the handle on the Brita Lake Water pitcher, you will need to disassemble it first. This way, you will be able to wash the inside of the handle easily.
To disassemble the handle:
- Take off the lid from the pitcher.
- Insert a slotted screwdriver into the gap on top of the handle, and push down and away from the pitcher.
- When the handle snaps out of place, simply pull it up.
Now you can continue by washing the handle as the rest of the pitcher, with a mild detergent and rinsing it well. Make sure not to use abrasive cleaners.
To assemble the handle, slide it into place and push it down. The clip will snap, reattaching the handle.
And that’s it!

If you ever wondered whether you could keep Brita out of the fridge, check out our other post.


0 Comments