
After regular use of the Breville Barista Pro you will see a DESCALE alert on the display. The Descale alert means that you need to perform a descaling cycle. It’ll remove a mineral buildup from the internal components, which can be caused by hard water. Such buildup can reduce the brewing flow, the brewing temperature and impact the taste of your espresso. Descaling is a vital part of the regular maintenance of a coffee machine and should not be overlooked. In this post you will learn all you need to know to descale your Breville Barista Pro.
How to descale the Breville Barista Pro
- Empty the drip tray and reattach it to the machine.
- Remove the water tank from the machine and take out the filter.
- Fill the water tank to the Descale line, add the descaling agent and reattach the water tank to the machine. (Check the instructions for your descaling agent. Some descalers should be first dissolved in warm water).
- Remove the portafilter from the group head.
- Press the Menu button, use the Grind Amount dial to navigate to the Descale option, and press to select. The 1 Cup button will illuminate.
- Press the 1 Cup button to start the descaling cycle. The descaling cycle cleans in 3 stages: coffee, hot water, and steam (they will be indicated as d3, d2, and d1 on the LCD). The machine will beep after each stage is complete. For the 2nd and 3rd stages, you have to manually turn the Steam dial to the Hot water and Steam position when prompted on the display. You might be prompted to fill the tank during the descaling cycle. Just add a bit of water, and the cycle will automatically continue.
- Once the last stage (steam, d1) is complete, put the steam dial back to the default position.
- Now the machine is ready to follow with the rinse cycle. An “r” will appear on the display, and the 1 Cup button will illuminate.
- Before you start the rinse cycle, empty the drip tray and reattach it.
- Also, empty any remaining descaling liquid from the water tank. Then fill the water tank to the MAX line with water and reattach it to the machine.
- Press the 1 Cup button to start the rinsing cycle. Same as with the descaling cycle, the rinse cycle has 3 stages: coffee, hot water, steam (r3, r2, r1). Again, you need to manually turn the Steam dial to Hot water and Steam position when indicated on the LCD.
- Once the rinse cycle is complete, the machine will beep and return to the ready mode (put the steam dial back to the default position).
- Remove and rinse the drip tray and dry it thoroughly before putting it back.
- Remove and rinse the water tank, dry it thoroughly, put back the filter, and reattach the water tank to the machine.
- Wipe down the machine’s exterior with a damp cloth removing any remaining descaling solution, especially from the stainless steel surface. Some descaling agents consist of an acid, which can stain the stainless steel housing.


⚠️ If you found uncleanable stains on your Barista’s stainless steel housing, it may be a result of using a descaling solution that contains sulfamic acid (e.g., the Durgol Special Descaler). When the sulfamic acid stays on a stainless steel housing, it can stain it. A Sulfamic acid cleaner used to remove grout haze and residue explicitly states that you shouldn’t allow the product to contact metal fixtures (source). Also, sulfamic acid can be used to force a patina on stainless steel. Even though we don’t have any tips on getting rid of those stains, at least you can now prevent further stains by wiping down your Barista right after the descaling cycle.
Here is a YouTube video showing such stains on Breville Barista Express.
How Long Does it Take to Descale a Breville Barista Pro Espresso Machine?
It takes 20 minutes to descale the Breville Barista Pro espresso machine if you are doing it for the first time. Just the descaling cycle (descaling and rinsing process) takes 4 minutes. So when you get the hang of it, descaling the Breville Barista Pro could take you around 10-15 minutes.
What to Use to Descale the Breville Barista Pro
To descale the Breville Barista Pro it is best to use a descaler recommended by the manufacturer since it is approved for their specific machines. Breville offers its own descalers in powder (Breville the Descaler) and liquid form (Breville Eco Liquid Descaler). As a cheaper alternative, you can buy a descaler made by the same company that makes the official Breville descaler. It has the same ingredients as the Breville Eco Liquid Descaler (Citric acid and Tartaric acid) but is sold in powder form. You can go with a regular descaler (Amazon link) or one that shows you how well it’s doing the job with a visual cue (Amazon link). Below, you can find approximate prices per descaling.
The Most Economical Breville Descaler
The most economical option is the standard descaler (Amazon link). One descaling will cost around $2.2 (0.88 oz/25 g of powder).
You can also purchase each descaler in a bundled package that includes 8 cleaning tablets designed for the Flush Cleaning Cycle (read more about Flush Cleaning Cycle here). Interestingly, as of now, the bundle with the more advanced descaler (Amazon link) is priced slightly lower than the standard one (Amazon link).
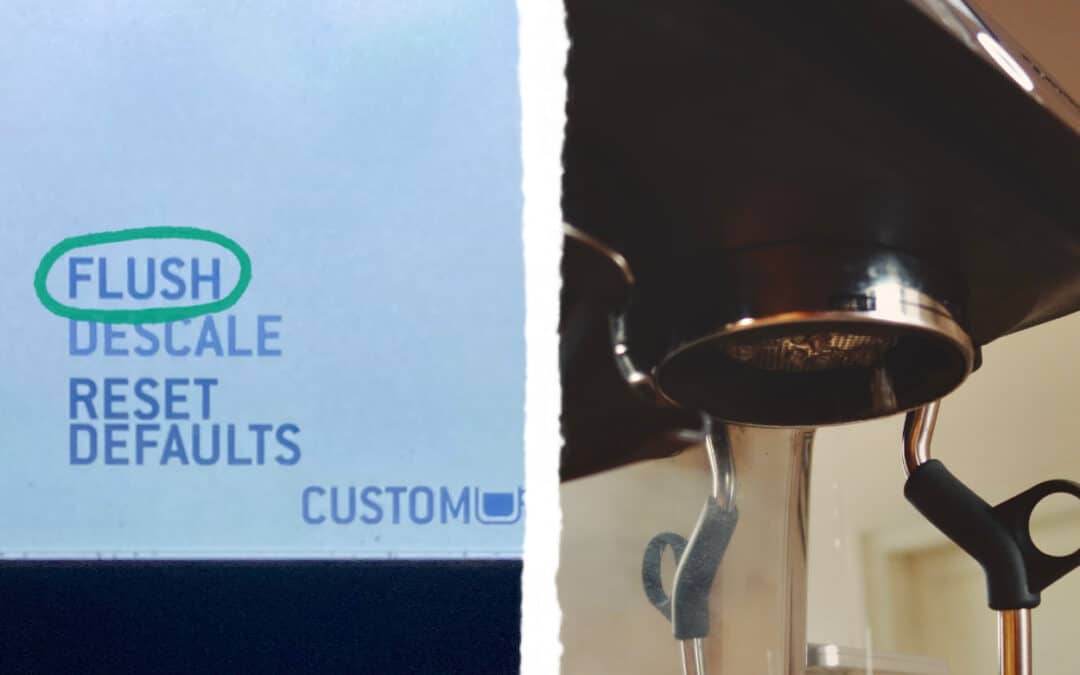
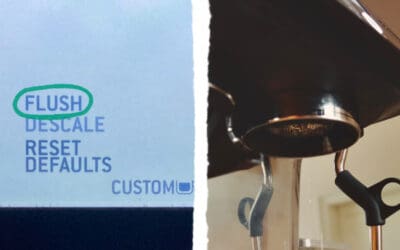
⚠️ The Breville Barista Pro doesn’t come with the descaler agent. It comes with two cleaning tablets, but those are to be used for the Flush Cleaning Cycle (backflushing), not for descaling. The cleaning tablets are a detergent that removes oil from the group head. If you want to learn about the Flush Cleaning Cycle, click here to go to our other article.
How to Check if the Espresso Machine is Rinsed Well?
The descaling cycle in the Breville Barista Pro includes a rinse cycle. However, if you want to double-check that the espresso machine is rinsed well, you have three options.
- You can manually rinse it by running some steam from the steam wand, running some hot water, and pulling a blank shot.
- Another option is making a single or double shot without a portafilter and adding a bit of baking soda into the shot. If there is still some acid left, it will start to bubble. We have tried this trick, and there were almost no bubbles at all.
- The third option is to use a sophisticated descaler (Amazon link) that indicates how well your machine was descaled. This one will cost you around $9 per descaling. The price is higher because the Breville Barista Pro uses almost 1L of water per descaling, and one sachet should be dissolved in 500ml of water.
How Often Should You Descale the Breville Barista Pro
You should descale the Breville Barista Pro every time the descale alert appears on the display. Regular descaling is a must to make your espresso machine work properly and last for years to come.
Generally speaking, the harder the water, the more often you will have to descale the machine. The best practice is to use only soft water, preventing the possible mineral deposit. In the Breville Barista Pro it is already taken care of with the in-tank water filter.
Do You Need to Replace the Breville Barista Pro Water Filter?
It is necessary to replace the Breville Barista Pro water filter regularly. Breville recommends replacing the water filter after three months. If you want to find out more about replacing the Breville water filter, check out our post dedicated to Breville water filters.
Can You Use Breville Barista Pro Without a Filter?
You can use Breville Barista Pro without a filter with properly filtered water. Otherwise, you shouldn’t skip the water filter. The Breville Barista Pro has a new generation of filter called the Claroswiss Water Filter. It not only eliminates chlorine and pollutants (using Activated Coconut Carbon) but also reduces water hardness (using Ion-Exchange Resins). It prevents limescale from forming inside the machine, which otherwise would have to be descaled more often. If you want to learn more about Breville water filters, check out our dedicated post. Among others, you can find there tips on which water quality is not suitable for Breville Barista coffee machines, which filters to buy, and budget-friendly alternatives.
What Are The Ingredients in a Descaling Solution?
The most common ingredients used in descaling solutions are Citric acid, Lactic acid, Tartaric acid, Sulfamic acid, and Malic acid. The descaling solution will generally consist of one or a combination of these acids.
What Can I Use Instead of a Descaling Solution?
Instead of buying a descaling solution, you could make a homemade descaler. The most commonly used ingredients for a DIY descaler are citric acid and vinegar.
But bear in mind that both citric acid and vinegar are not recommended to use in espresso machines with aluminum parts (aluminum thermoblock boiler). Also, know that a DIY citric acid or vinegar solution might not be as effective as some storebought descalers since they often consist of more than one acid, enhancing their effectiveness (source). Also, in old or neglected machines, vinegar might influence the taste of the coffee.
Those are just some of the disadvantages of DIY descalers. It is best to use a descaler recommended by the manufacturer since it is approved for their specific espresso machines. If you are trying to find a cheaper option, try to find a descaler with similar ingredients.
Make the Best Coffee with Your Breville Barista Pro
If you want to learn how to make the perfect shot of espresso according to your preferences, check out our Ultimate Guide for the Breville Barista Pro or learn about the 10 Most Helpful Breville Barista Accessories.


0 Comments