Reviving 4 Years Old Nubuck Shoes
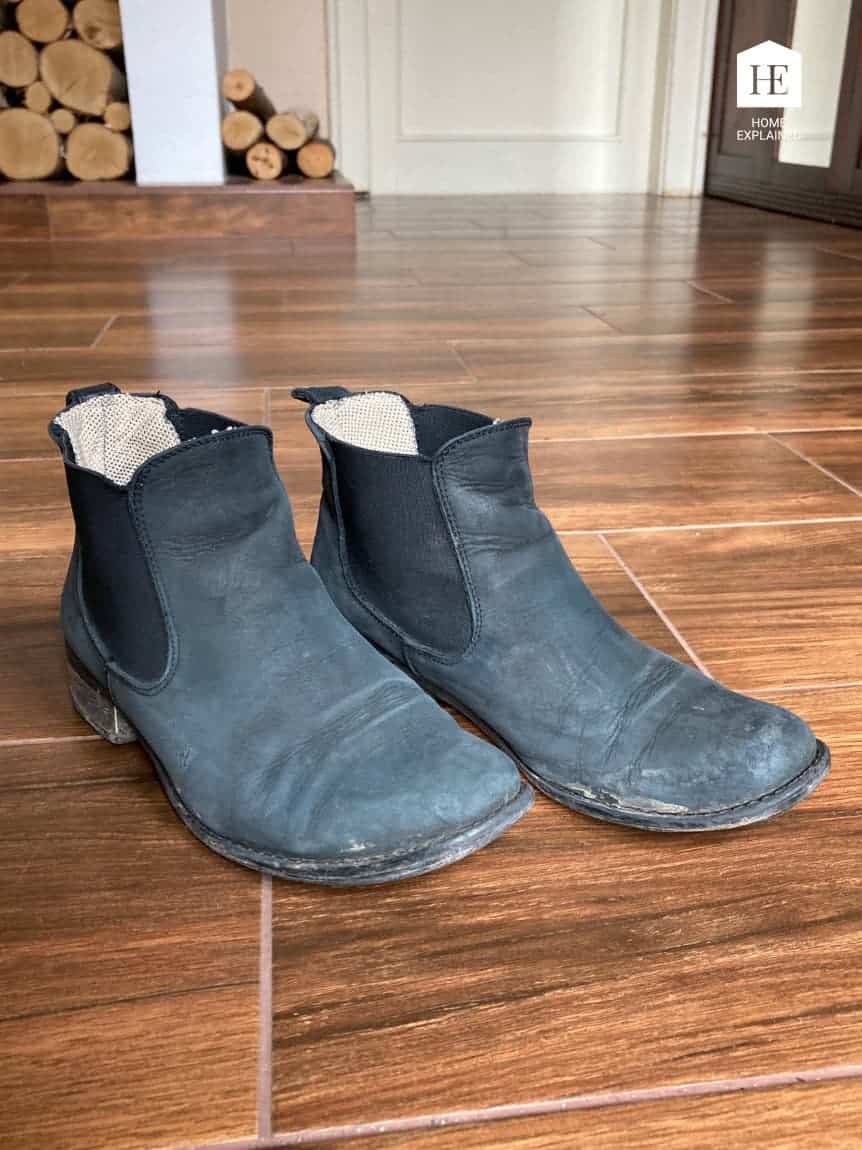
I have a favorite pair of black shoes that I often wear in autumn and spring. I bought them in 2016, and throughout the 4 years, I have never washed or revamped the nubuck leather (but I had the sole redone a couple of times!). The only thing I have rarely done with the nubuck is brushing it with special nubuck brushes. It was sufficient to deal with some mud stains etc. but they became quite pale and dirty. Because of that, I have decided to research the best way to restore nubuck shoes (the same method applies to suede shoes), giving them back that rich dark color they used to have. I have watched different tutorials from cobblers and Italian shoeshine, and I think I have found the perfect solution – easy, quick, and effective.
Tools to Restore Nubuck/Suede Shoes
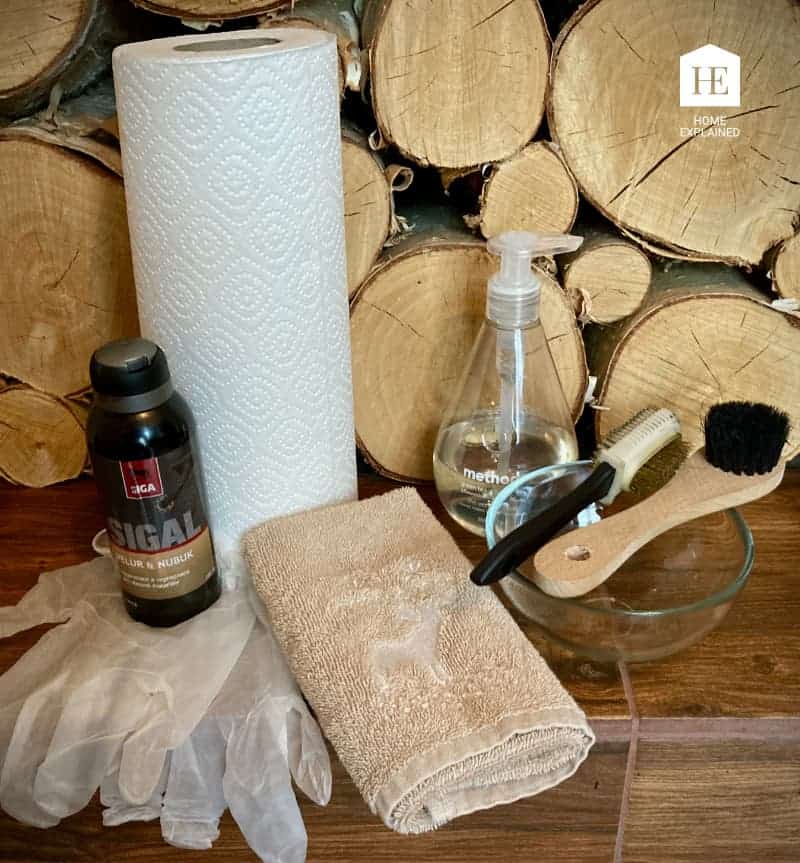
- Nubuck/Suede brush (with soft or brass bristles – I prefer the soft one); You can use an old toothbrush as an alternative.
- Rubber nubuck/suede brush or a regular eraser
- A soft brush, a toothbrush, or a sponge (for washing)
- Soap
- Bowl
- Old towel
- Paper towels or old newspaper
- Gloves (definitely recommended!)
- Nubuck/Suede Renovator spray in the desired color (I used black)
- Soft brush (Pack of 2)
- Mixed brush – rubber/soft/brass (with extra 2 erasers)
- Nubuck/Suede Renovator – Option 1 – TARRAGO Suede & Nubuck Renovator | Amazons Choice
- Nubuck/Suede Renovator – Option 2 – Moneysworth & Best Suede Renew
6 Steps to Restore Faded Nubuck or Suede Shoes
Step 1 – BRUSH
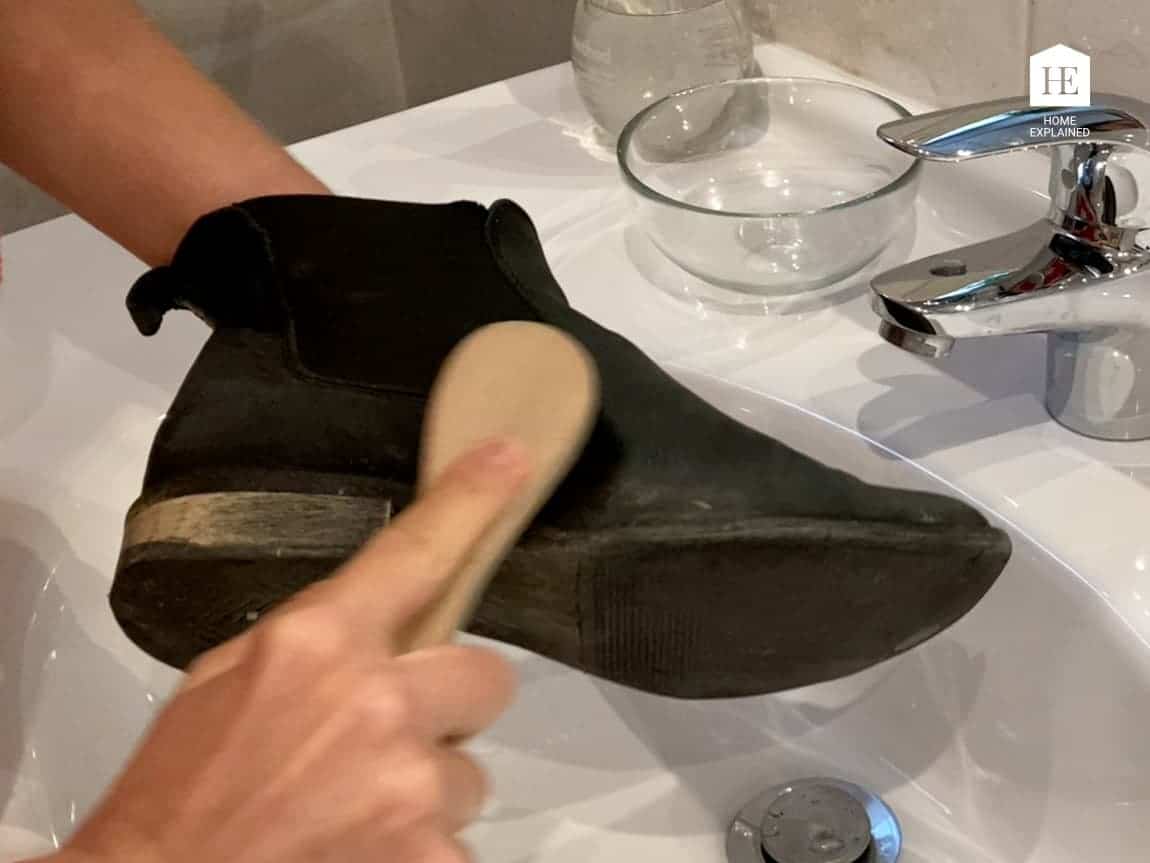
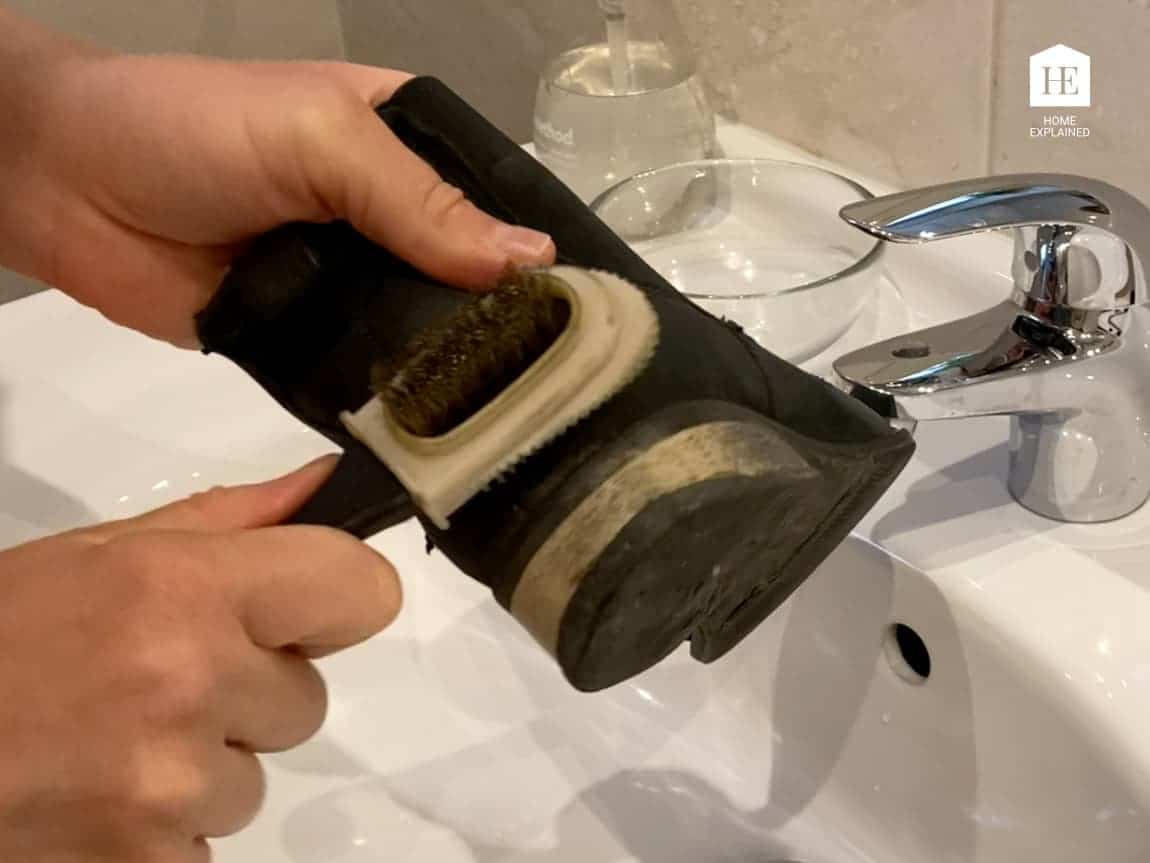
Clean the shoes from loose dirt with a brush (with soft or brass bristles – I prefer the soft ones). Make sure that the shoes are dry. Here is the time to take out the lases, if you have any.
Step 2 – REMOVE STUBBORN STAINS
If you come across stubborn stains, rub them with an eraser or a special rubber brush for nubuck/suede. Remember that not every stain can be simply erased, so wait for the next step if it is not coming off.
Step 3 – WASH
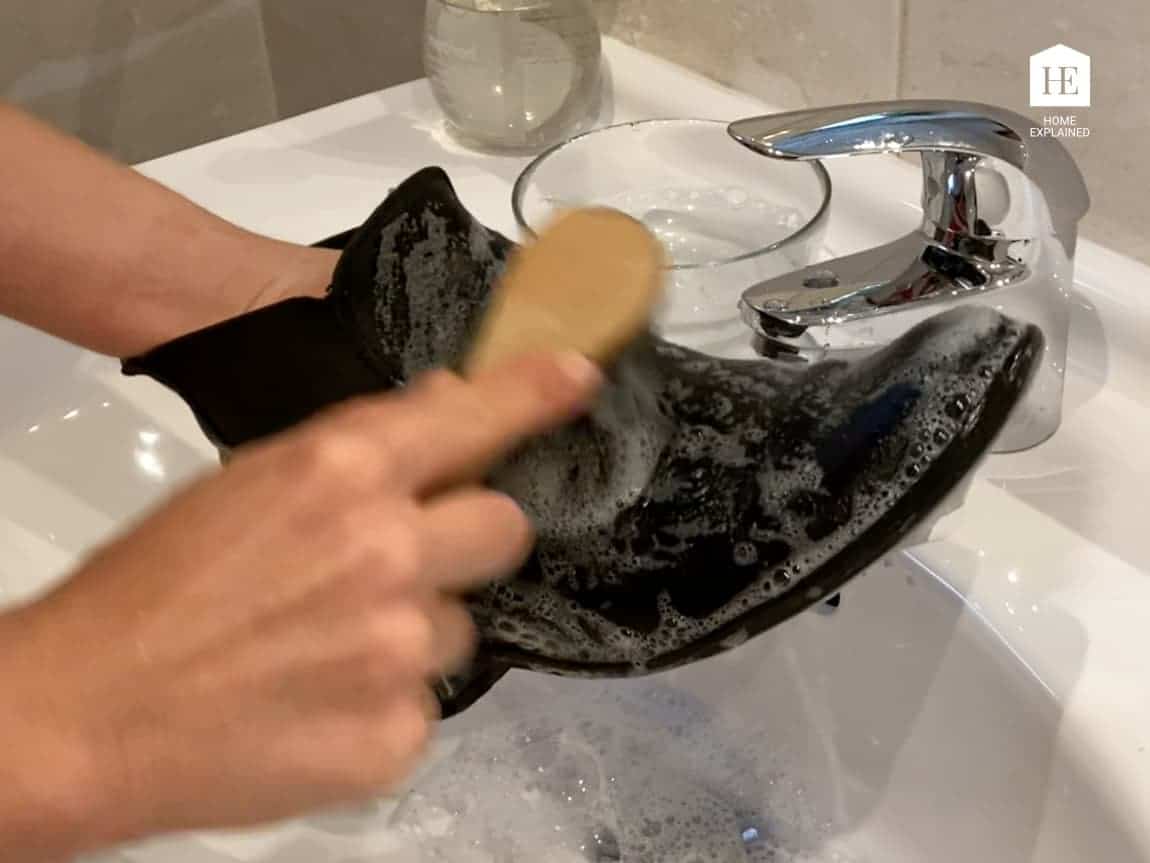
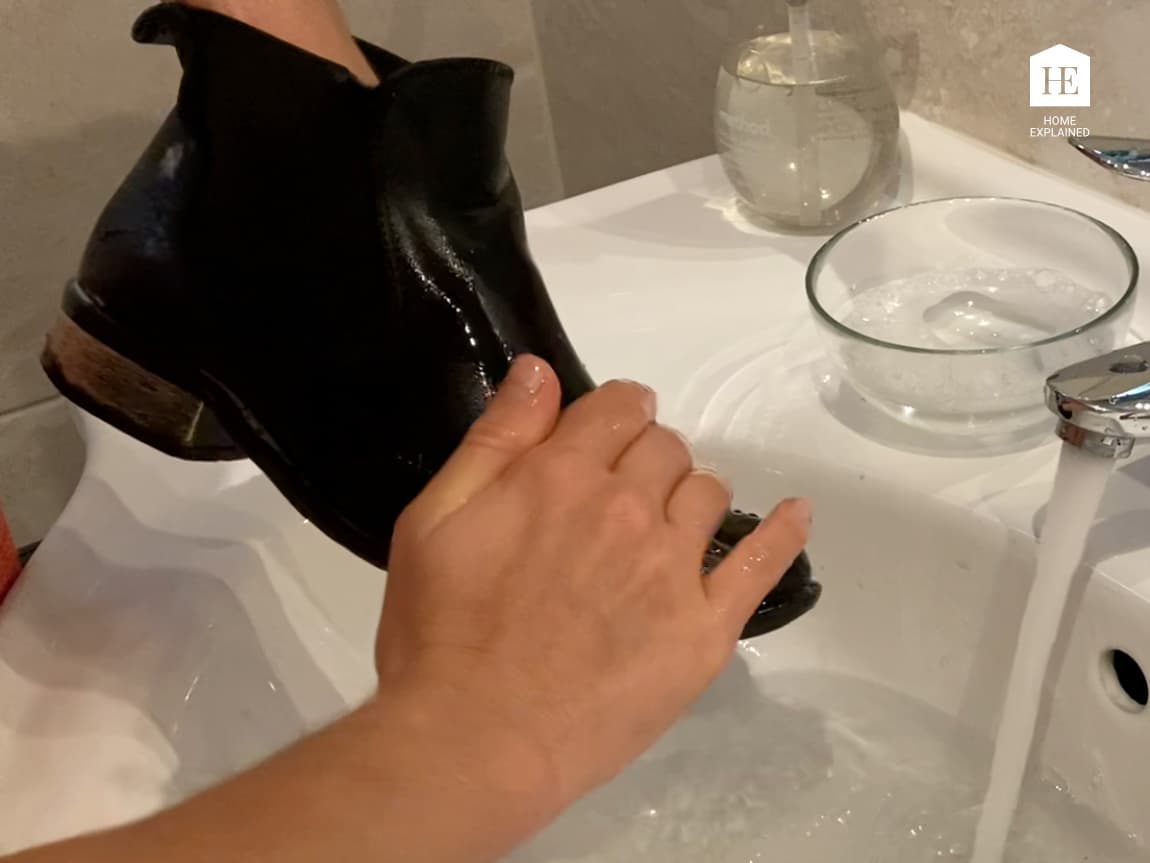
Make a solution of mild soap and water in a bowl, dip a soft brush in the solution and brush your shoe in a circular motion. You can also use a toothbrush or a sponge. Even though it is OK to wet nubuck/suede, I tried to use as little water as necessary. I didn’t want to soak it too much since the shoe might take longer to dry, and more importantly, the shoe was releasing some black dye – that was another reason not to wash it for too long. One more tip, don’t try to wash only a small dirty spot since you will probably end up with a large stain. It is always better to wet the whole shoe. In the end, rinse the shoe. I did so with my hands, but after rinsing the other shoe, I realized that I prefer to rinse with the brush.
NOTE: When the shoe is wet, the color looks perfect – deep black. Unfortunately, it is only because it is damp. Here you can see a “before and after washing” photo – the color is very similar. Still, I would definitely recommend washing the shoes, since you will clean a lot of dust and dirt.
Step 4 – DRY
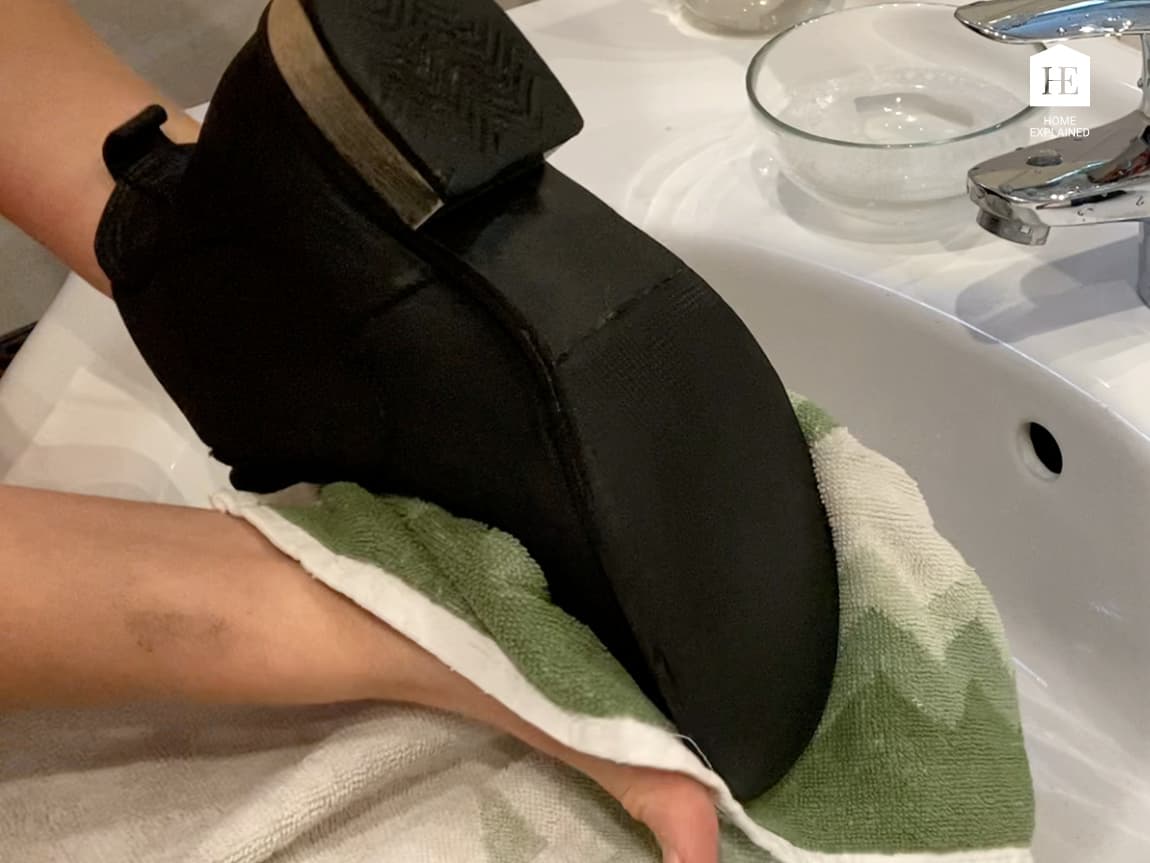
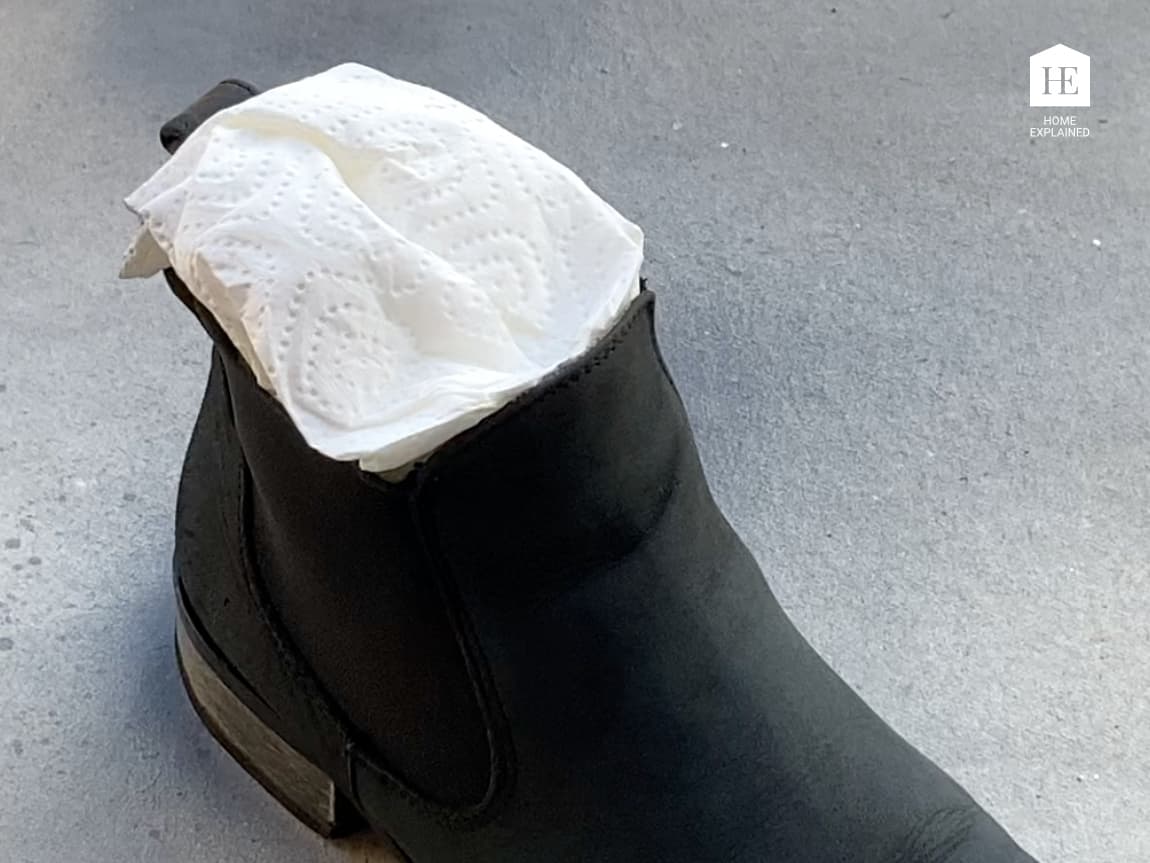
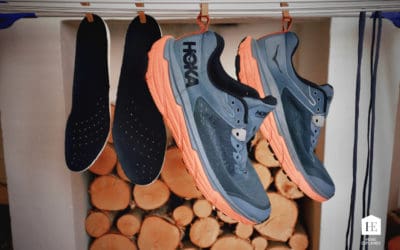
To dry nubuck or suede shoes, first blot them using an old towel (the shoe might release some dye, which will color the towel) to get rid of as much water as possible. Then put some paper inside the shoe. It will absorb the moisture helping it to dry faster. I don’t advise putting the shoes on a radiator since some sources state that heat (even leaving them in the direct sun) may damage the shoe (melting glue, etc.). The best place seems to be a breezy spot in the shade.
Step 5 – RECOLOR
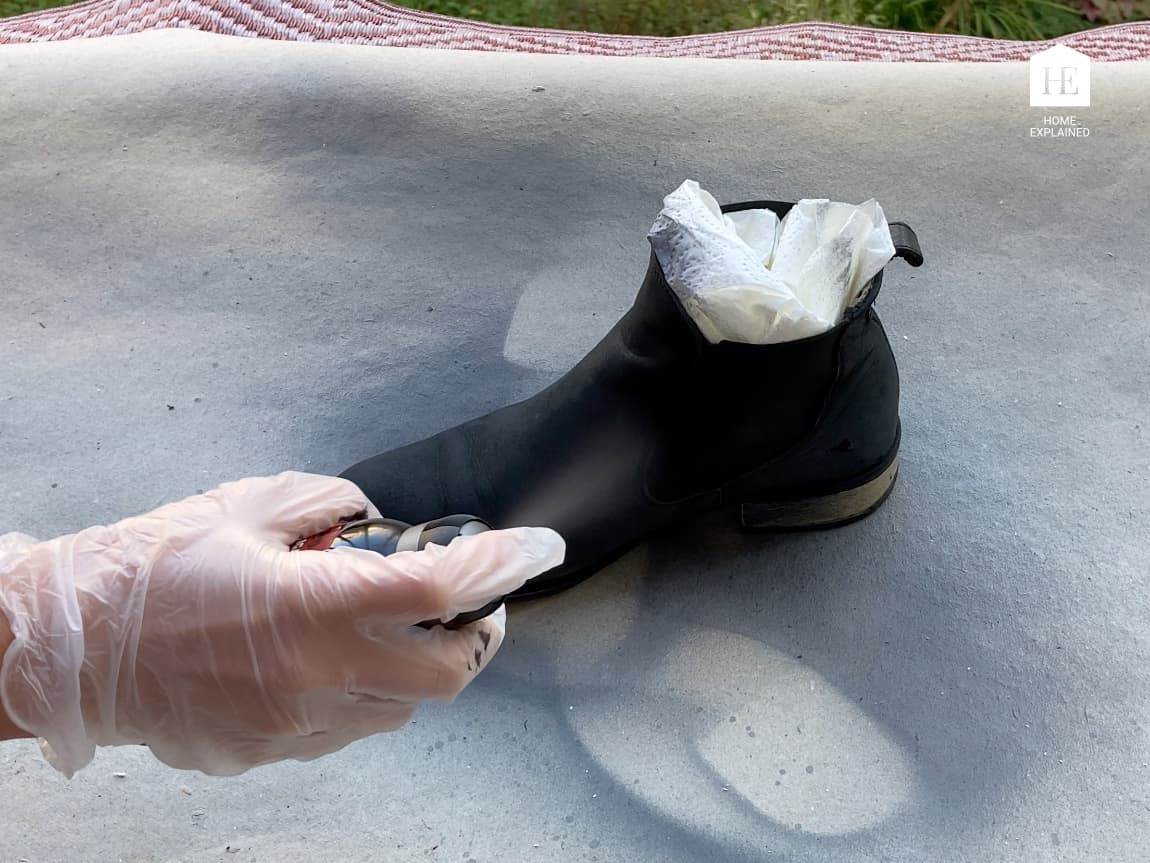
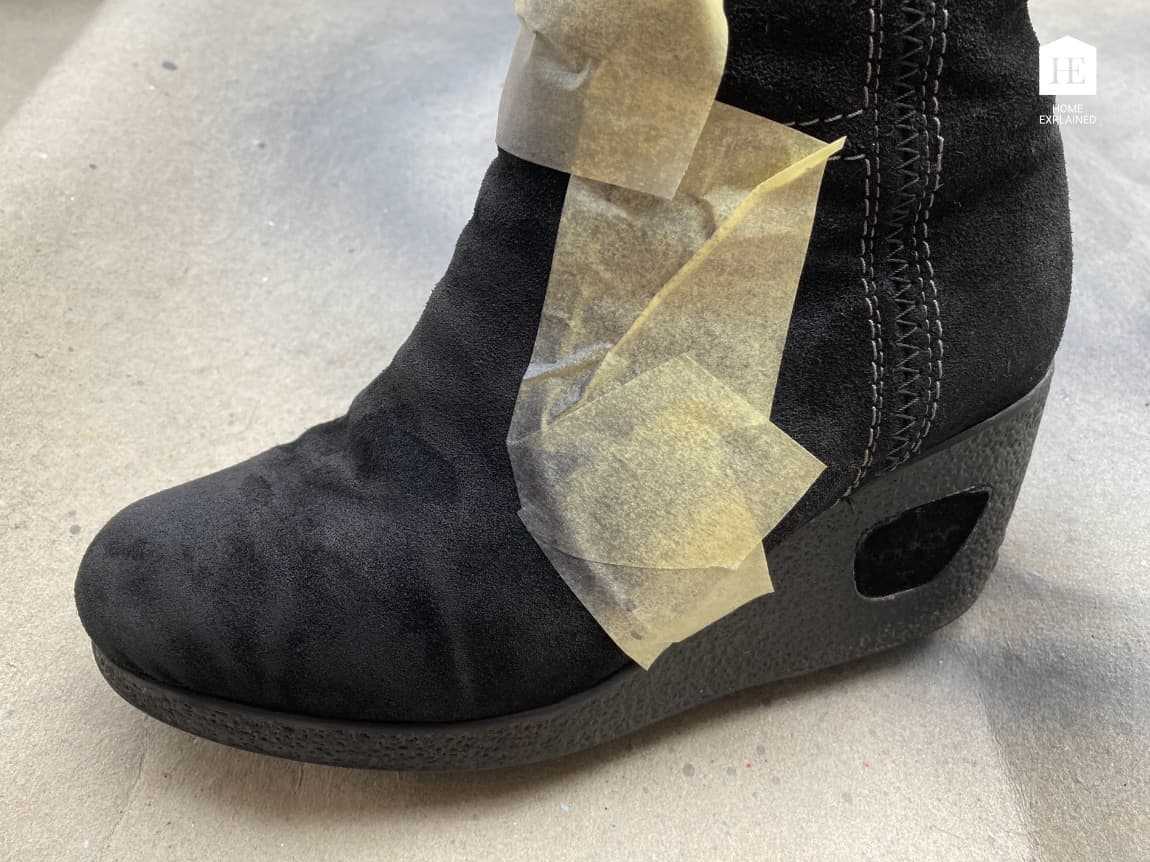
Use a renovating spray for nubuck/suede in the desired color. Such spray combines the restoration of the color with protection from water and stains. The application is easy. Just spray the shoe in a well-ventilated area – ideally outside. I advise to use gloves, cover the surface under the shoes, and put some paper inside the shoe. To achieve the desired color, I had to do a couple of coats. If you have shoes with other materials, like, e.g., beige stitching on my winter suede boots, you can use some kind of tape to cover those areas.
If you don’t need to rejuvenate the color of your shoes, you should still use a waterproofer (Amazon link). Cobblers advise using such spray on new shoes and then as needed throughout the year to protect them from moisture, dirt, stains, etc.
Step 6 – BRUSH
After your shoes are completely dry, brush them with a nubuck/suede brush (with soft or brass bristles). This way, you will make your suede soft again since it tends to get rough after being wet. And that’s it!
What About Nubuck/Suede Dye?
To bring back the original color of your shoes, besides the renovating spray, you could also use nubuck/suede dye, here is an Amazon link. But from what I have found on the internet, it seems that the dye is usually used on materials where you are trying to change the color of the shoe distinctly – from brown to black, etc. It seems to me that if you would use, e.g., a black dye on faded black shoes, you would probably end up with a deeper, richer color than from the renovating spray – but it is just my assumption. For me, the renovating spray worked great with the bonus of protection, so I will stick with the spray for the future. If you opt for the dye, check out the label, you might need to use a protecting spray (waterproofer) afterward.
The Result
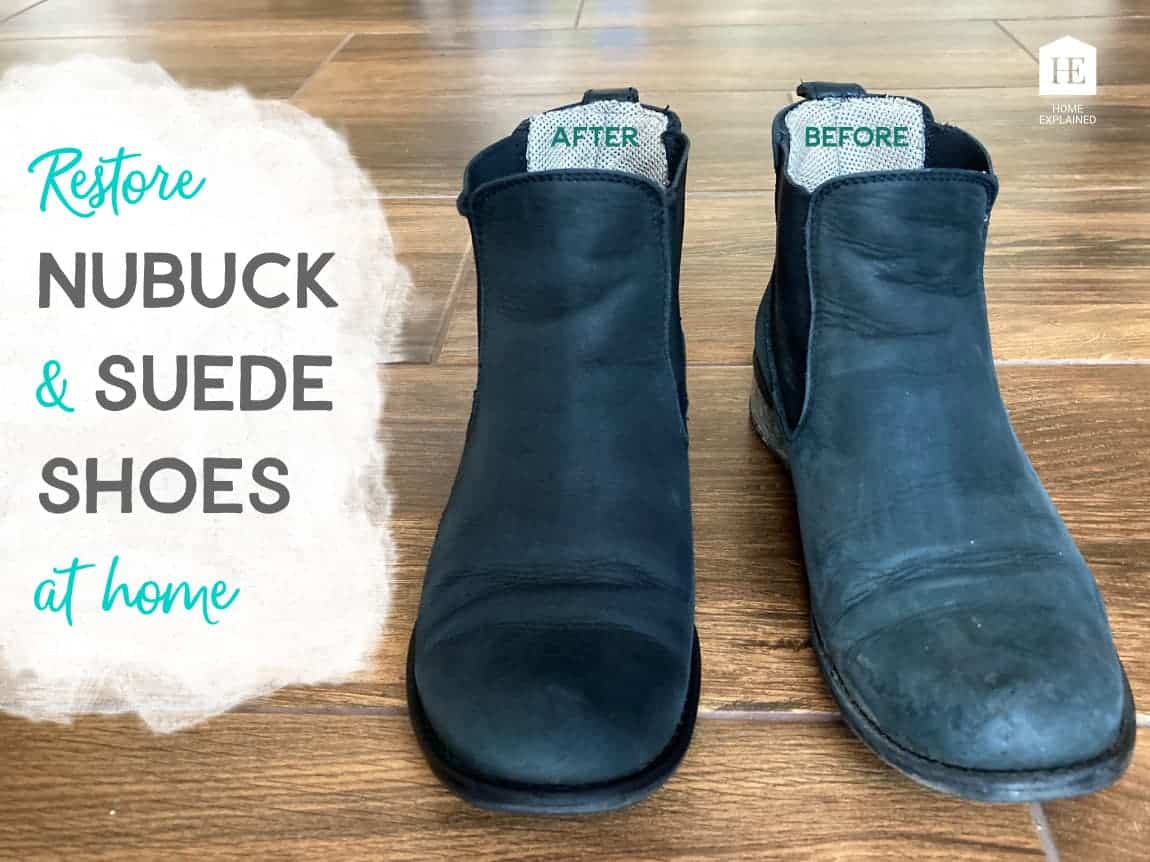
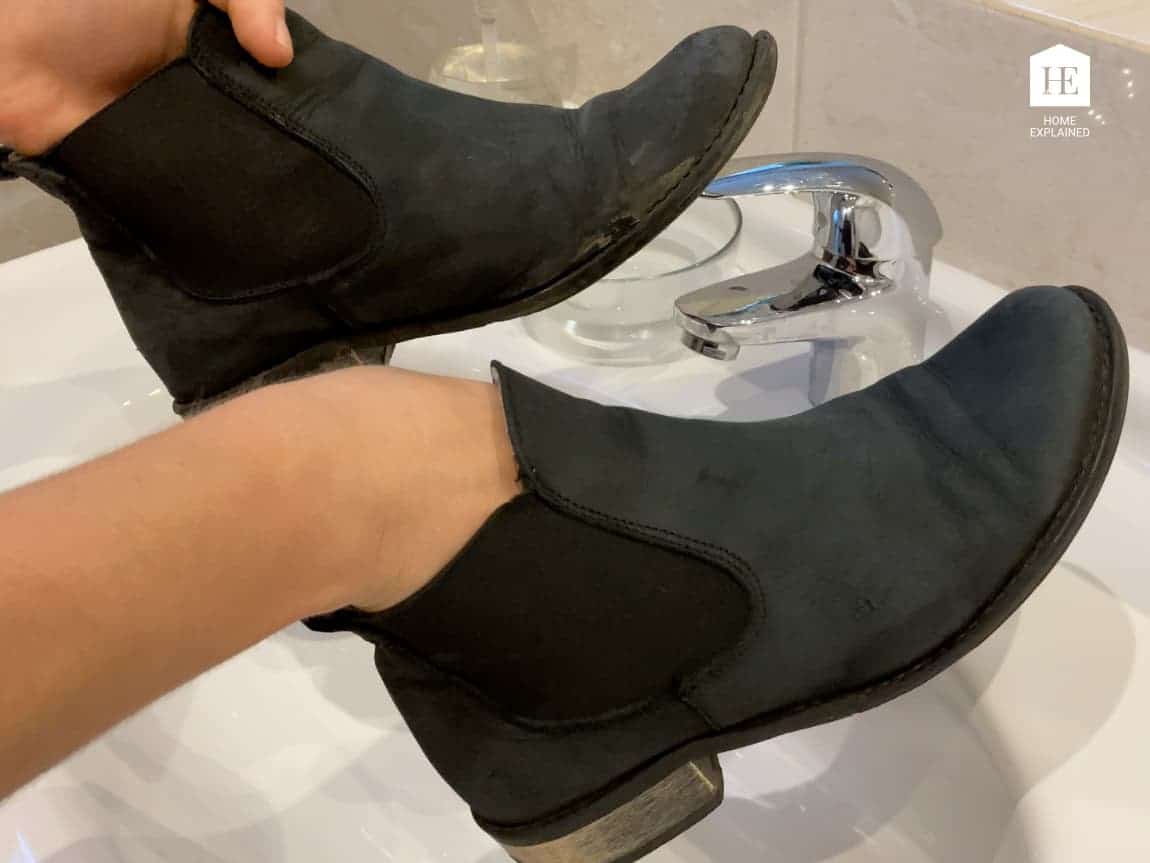
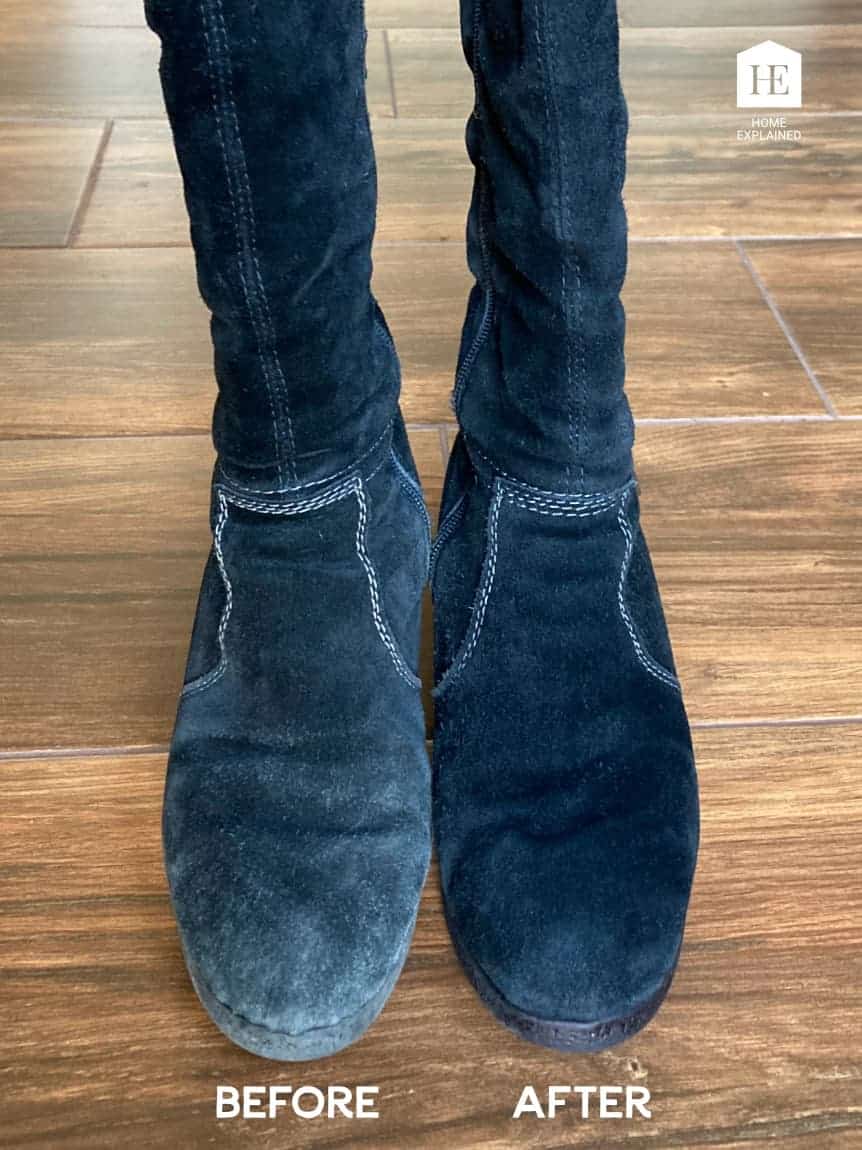
Here is the before and after photo of the restored black nubuck shoes. I am super happy with the result!
Here you can see my other black suede shoes that I have also restored. They were water damaged, but It was possible to fix them! For more info and photos, see my other post.


0 Comments