
The 2 in 1 coffee distributor and tamper are among my top favorite tools that can help you make your espresso routine consistent, which is crucial if you want to enjoy a tasty cup of coffee every time.
In this article, I will show you step by step how to properly set up and use your palm tamper and distributor such as the Matow, Crema, OCD, or any other for that matter.
Setting up your tamper & distributor tool is mostly a one-time – set it and forget it kind of thing. However, in the following section, you’ll find a few reasons why you might need to readjust the tool in the future and also a few important things to remember before you start adjusting the tool.
TABLE OF CONTENTS
Things to know before you start adjusting the tool
How to Setup and Use a Coffee Distributor and Tamper?
– How do you set up the coffee distributor tool
>>>Tips for the proper setup and use of the distributor
– How to set up the palm tamper depth?
>>>Tips for the proper setup and use of the tamper
FAQ
– What is a Coffee Leveler?
– What Does the Coffee Distributor Do?
– Do You Need an Espresso Distributor?
– Do You Need to Tamp After Using a Distributor?
- Keep your dose constant – It is important to realize that a larger volume of coffee in the portafilter will create more resistance while tamping at the same tamper depth. This will affect the length of the extraction and may also lead to over-extraction (bitter/astringent taste in the cup) due to over-tamping the coffee puck. Therefore, after setting the depth of your tamper and distributor, I recommend keeping your coffee dose to the nearest 0.1g. If you need to change your dose, make sure to adjust your tamper depth accordingly.
- Use a recommended dose of coffee as outlined by the filter basket manufacturer (e.g., Breville double-shot basket fits 16 – 19g of coffee). If you don’t know how much coffee to use, start in the middle of the recommended range.
- Readjust the tamper depth when changing coffee – different kinds/varieties of coffee and different roast levels may also require slight readjustment.
How to Setup and Use a Coffee Distributor and Tamper?
The 2 in 1 distributer and tamper has two sides that allow you to adjust their heights independently. If you have a tool with only one adjustable side, simply skip to the relevant part.
In this example, I will use the 53 mm Matow Coffee Distributor & Tamper (Amazon link) with my Breville Barista Pro coffee machine.
How do you set up the coffee distributor tool?
Before you start setting up your distributor, grind a standard dose of coffee into a portafilter. In this example, I use 17,5 g (0.63 oz) of fresh medium roasted coffee. It is also recommended to do a slight puck prep before you start using the distributor to avoid any uneven pressure on the coffee bed.
When you are ready:

- Hold the tool by the upper (non-slip) collar, unlock the distributor with a slight twist of the bottom collar in the counterclockwise (left) direction.
- Grip both collars of the tool, including the tamper, with your hand. In the counterclockwise direction, unscrew the distributor to the desired depth (around 4-6mm). The distributor should be set to the lowest or slightly above the lowest possible depth (4-6mm).
- Lock the distributor by holding the upper collar and twisting the bottom collar in the clockwise (right) direction until firmly tightened.
- With the distributor ready, press down the coffee in a portafilter and in a clockwise direction, spin it at least 3x.
- Remove the distributor and check the coffee puck for any gaps or imperfections.


Tips for the proper setup and use of the distributor
- The distributor should be set to the lowest or slightly above the lowest possible depth (around 4-6mm) in case you’re going to use a tamper.
- There should be a slight tamping effect, so the coffee is distributed evenly throughout the puck and not only on the surface (to better understand the logic behind it, skip to the how the distributor works section).
- If you are going to use only the distributor side, I recommend setting its depth to 8mm for a heavier tamping effect.
- After using the distributor, the bed of the coffee should be perfectly smooth without any gaps or imperfections. If you see any gaps, set the distributor to a lower depth and repeat steps 4 and 5.
- The coffee bed should be slightly compressed but still fluffy so that it leaves imprints even if touched lightly.
- For the 17,5g (0.63 oz) dose of coffee in the 53 mm double shot filter basket, I set mine to 6mm of depth (measured when locked).
How to set up the palm tamper depth?
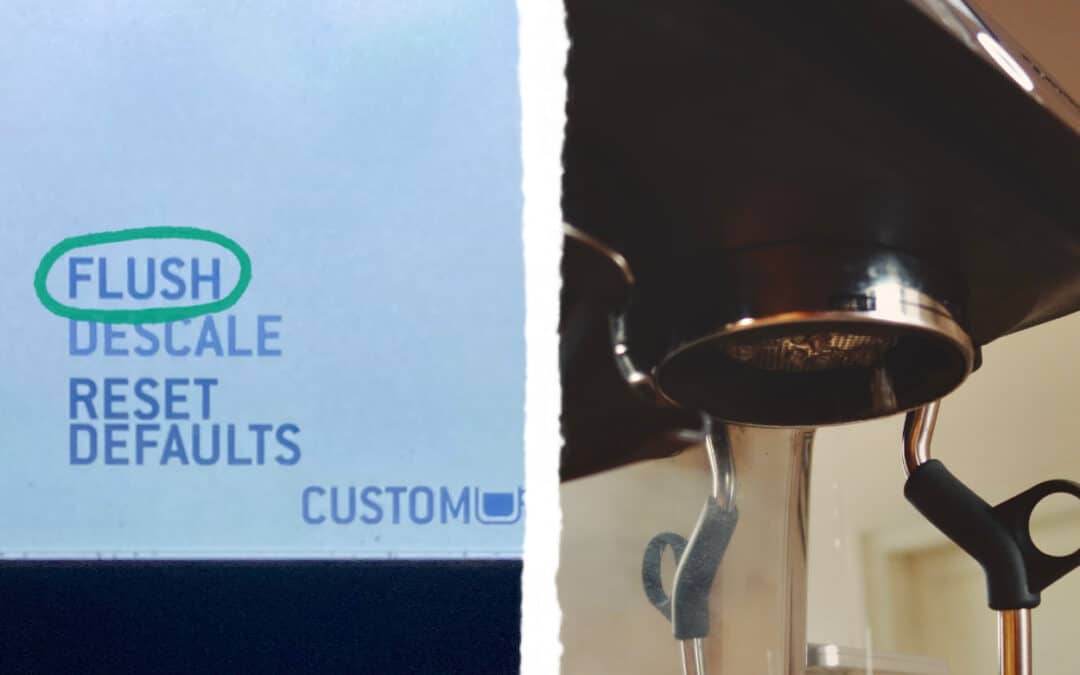
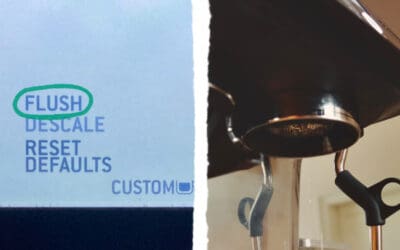
After you’re done distributing, lock the portafilter into the group head (make sure it’s dry) and leave it there for a couple of seconds. Unlock the portafilter and check the coffee puck for any imprints of the group head. Ideally, we don’t want any imprints on the coffee bed after tamping, so this is the minimal tamping depth we will be aiming for.

When you are ready to set the depth of a tamper:
- Hold the tool by the bottom (smooth) collar, unlock the tamper with a slight twist of the non-slip collar in the counterclockwise (left) direction.
- Grip the tool firmly by the collars; make sure the palm of your hand also grips the distributor side. In the counterclockwise direction, unscrew the tamper to the desired depth (if you are using a standard Breville double shot basket, set the tamping depth to around 8mm).
- Finally, lock the tamper by holding the smooth collar and twisting the non-slip collar in the clockwise (right) direction until firmly tightened.
- After setting the tamper, carefully place it on the coffee bed and push firmly. Make sure the collar of the tamper rests on the edge of the portafilter.
- Remove the tamper and check the coffee puck. If the imprints have disappeared, you’re all set and ready for the extraction!


Tips for the proper setup and use of the tamper
- The minimum tamping depth should be around 8 mm so that the coffee bed does not come into contact with the brew head, which could burn the coffee (especially if the extraction is not initiated immediately).
- If your coffee puck is not tamped enough, you are essentially going to tamp it with the brew head.
- For the 17,5g (0.63 oz) dose of coffee in the 53 mm double shot filter basket, I set mine to 9mm of depth (measured when locked).
- An imprint of the showerhead after extraction on the coffee puck is normal since the coffee expands as the water goes through.
FAQ
What is a Coffee Leveler?
A coffee leveler, also known as a coffee distributor, is a tool that helps evenly spread coffee grounds in the portafilter, making your espresso routine easier and more consistent.
What Does the Coffee Distributor Do?
As you can see in the experiment below, the distributor does exactly what its name suggests. It distributes the coffee grounds in the portafilter evenly to make the coffee bed ready for tamping and extraction.

As you can see in the video, the biggest effect of the distributor tool is on the upper layer of the coffee grounds. To maximize the effect on the lower layers of coffee grounds, it is important to use enough grounds in the portafilter. This way, you will ensure sufficient compression, which will help to impact the bottom layers of the coffee puck.
Do You Need an Espresso Distributor?
The distributor tool can help you simplify and streamline the espresso-making process and, more importantly, make it consistent, which is crucial when trying to fine-tune your coffee’s taste. If coffee is something you like to tinker and play with, you should consider buying one!
Do You Need to Tamp After Using a Distributor?
No. If you set up your distributor to a heavier distribution, you don’t need to tamp at all. In general, we can say there are three primary options to prepare your coffee for extraction:
- Tamping only
- Distributing and tamping
- Distributing only
Experiment with all three options and find out which one your taste buds like the most!


0 Comments