In this article, we’ll look at some of the most common causes of ice buildup at the bottom of the fridge, and we’ll provide tips on how to fix them. We’ll also discuss some preventative measures that you can take to reduce the likelihood of ice buildup happening in the first place.
What Causes Ice to Form at the Bottom of a Refrigerator
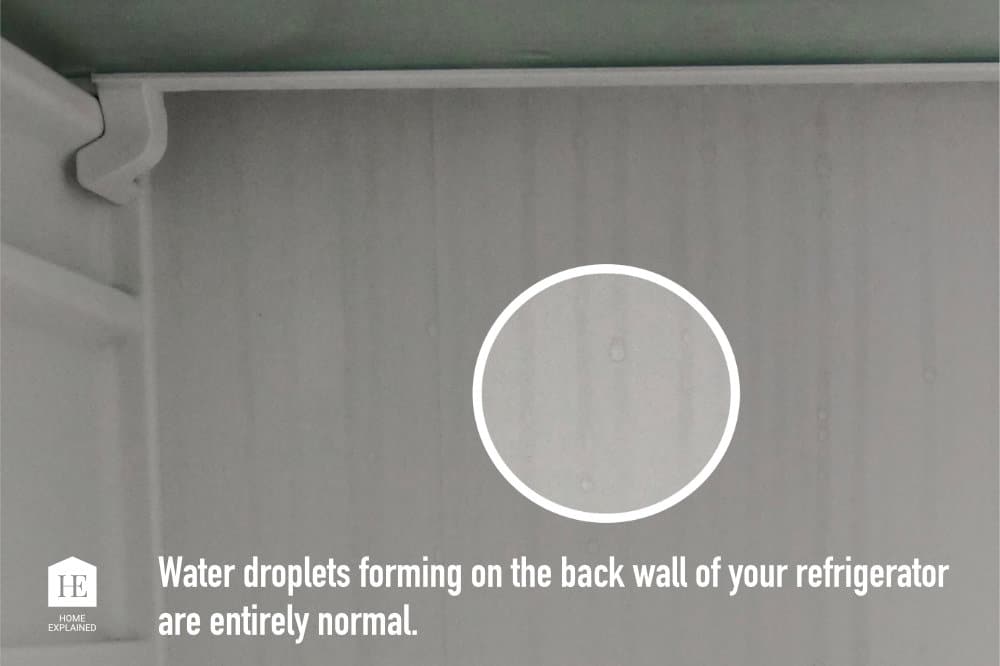
When warm, humid air comes in contact with a cold surface, such as the back wall of your fridge, the water vapor present in the air will condensate and form small water/ice droplets. Therefore, some condensation is completely normal and is caused by the cooling effect of the refrigerant circulating in the evaporator coil behind the fridge’s back wall.
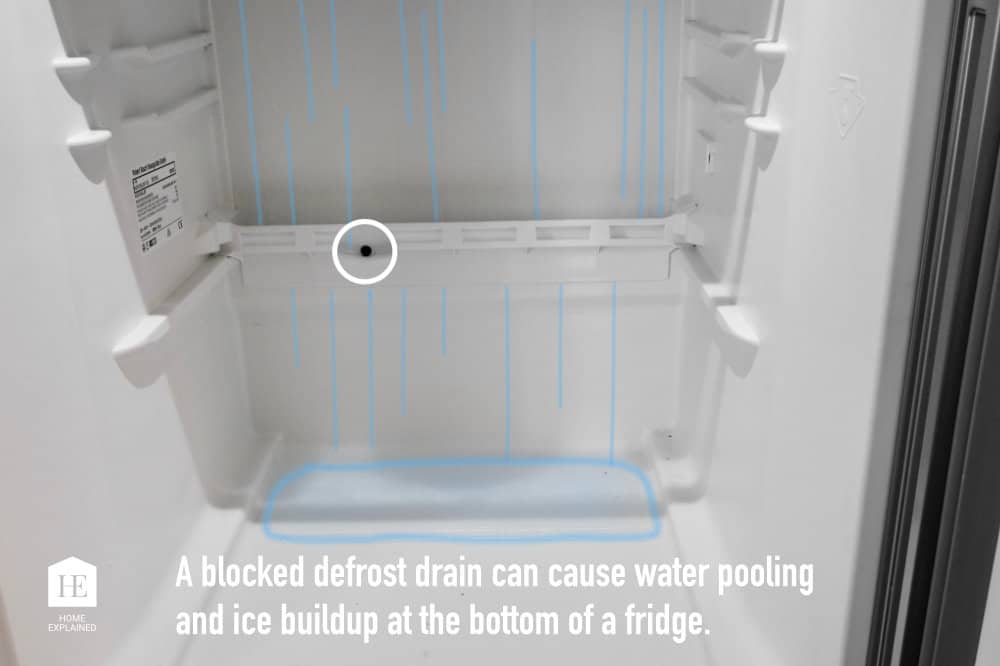
To prevent excess ice buildup, most modern fridges have an auto defrost function which will allow for the ice droplets to melt and drain away periodically via defrost drain. However, if the defrost drain gets blocked, water will begin to accumulate at the bottom of your fridge, forming a layer of ice.
While a blocked defrost drain is the most common cause of ice buildup at the bottom of a refrigerator, there are often other underlying reasons. These include, most notably, leaky door seals due to a dirty or worn rubber gasket, incorrect use of the appliance such as frequent door opening, and filling up the fridge with warm or humid foods.
How to Fix Ice Building Up at the Bottom of a Fridge
Once you identify what is causing ice buildup at the bottom of your fridge, it’s time to take steps to fix it.
Cleaning the Clogged Defrost Drain
Where is the defrost drain located?
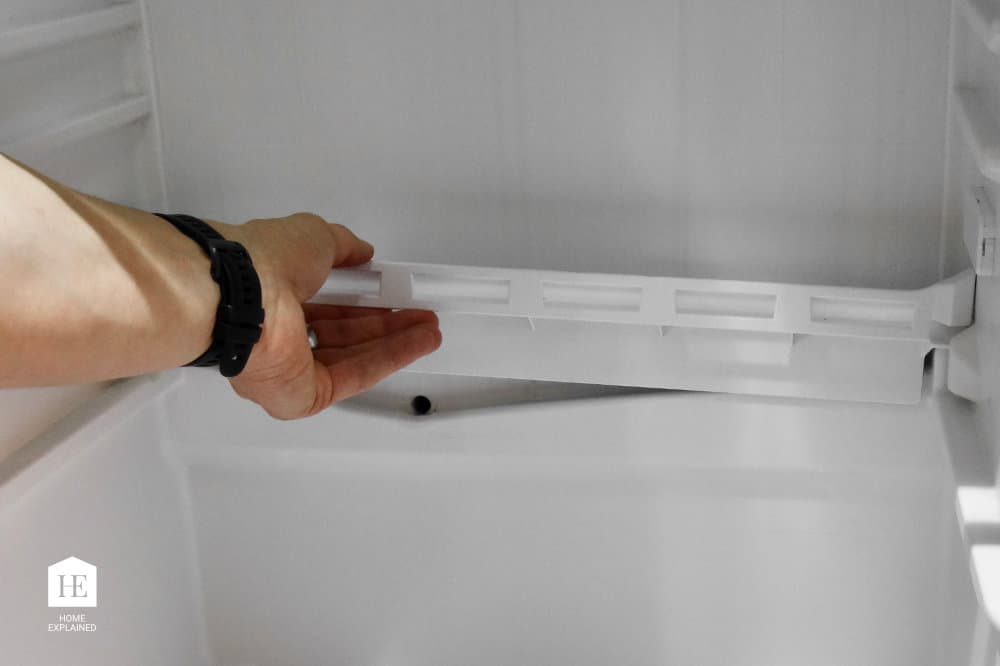
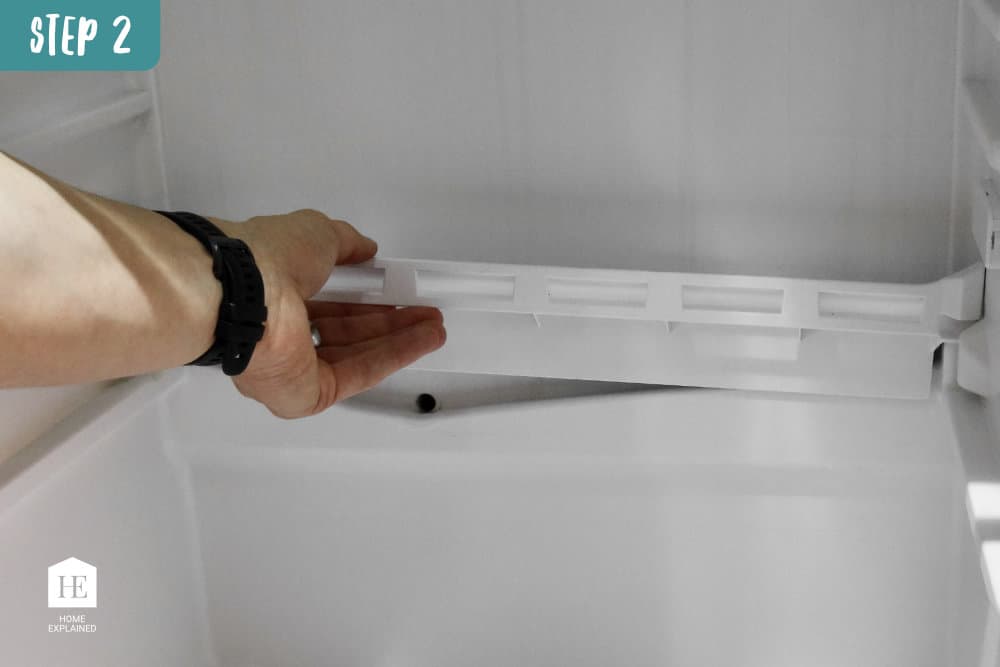
The defrost drain is typically located in the lower part of the back wall of a fridge. It may be hidden behind a removable plastic cover. If you’re having difficulty finding it, refer to the owner’s manual.
How to clean a clogged defrost drain?
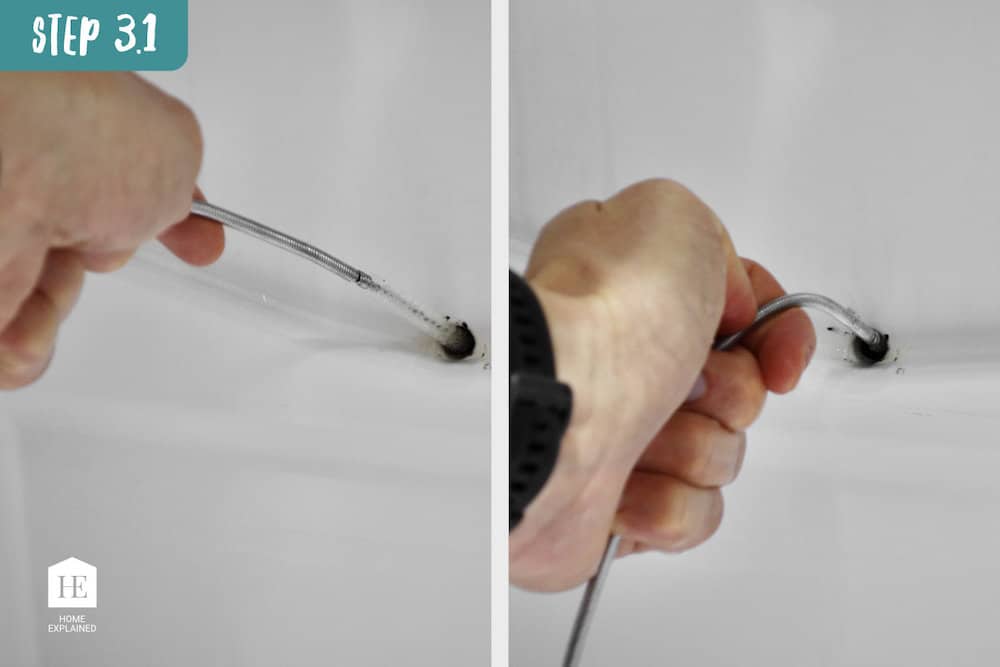
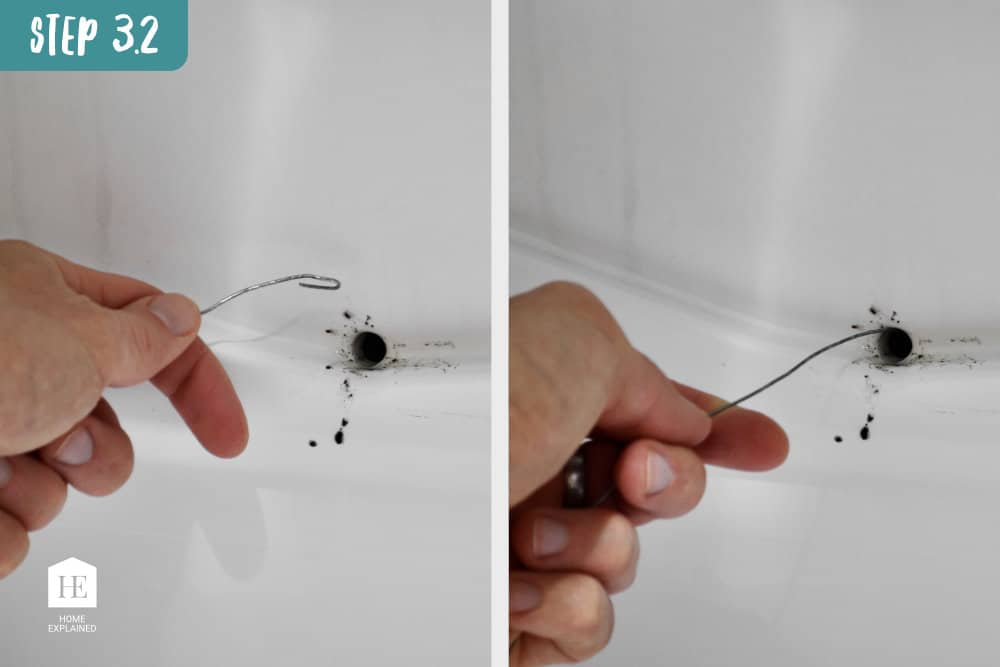
To clean a clogged defrost drain, use a cotton swab or small brush to remove any mold and dirt from the drain inlet. Flush with a little bit of warm water to see if the drain clears. If the problem persists, use a flexible wire brush or a stiff wire to loosen up any blockage that has formed in the drain.
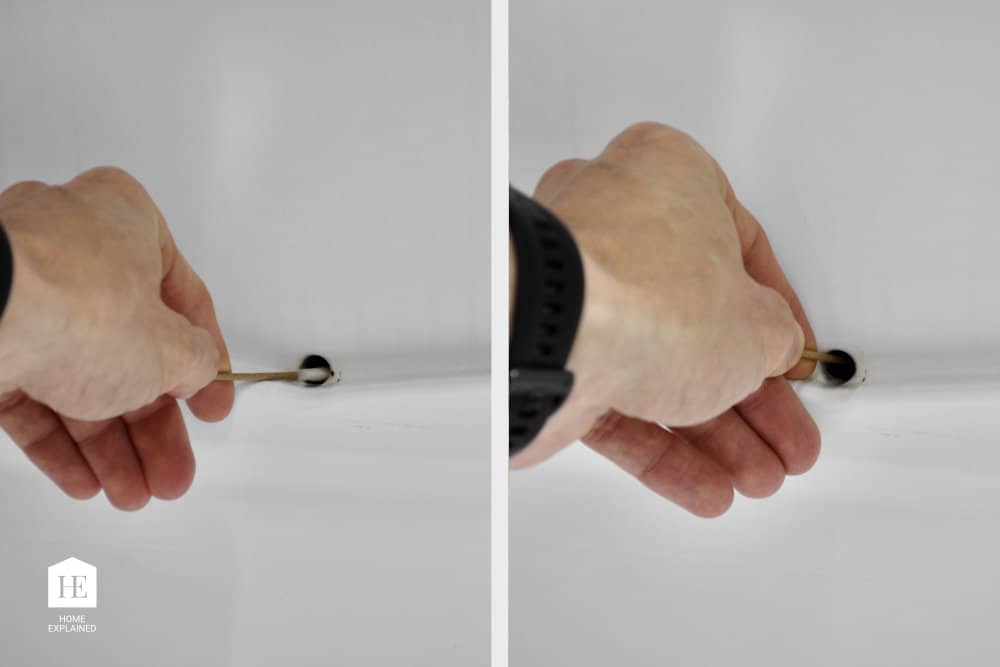
What will dissolve a blocked drain?
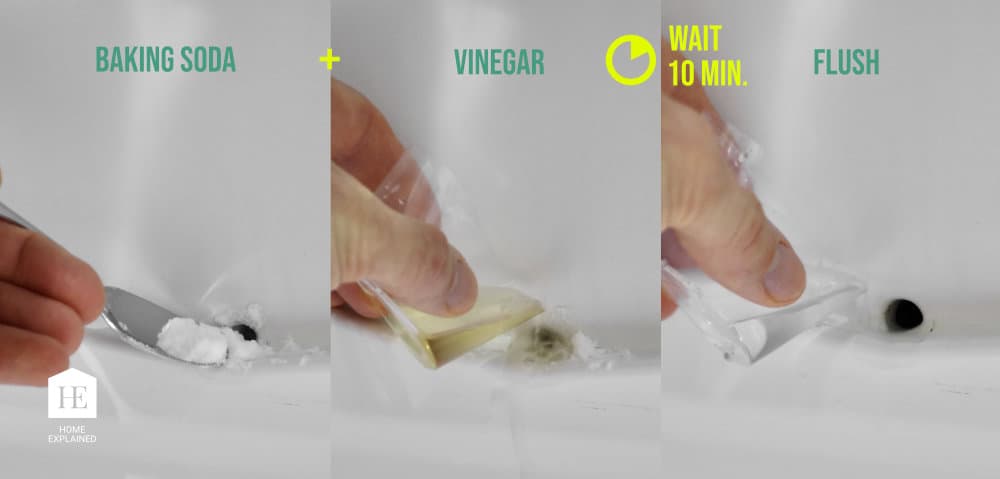
To clean a moldy defrost drain, you can use a solution of baking soda and vinegar to dissolve a blocked drain. Pour half a teaspoon of baking soda down the drain, followed by a tablespoon of vinegar. Leave it on for ten minutes, and then rinse it off with hot water. Finally, flush the drain with half a cup of water.
This will help dissolve any blockage and get the drainage running freely again.
Cleaning a Door Seal on a Refrigerator
To minimize heat loss and excess water condensation inside of your fridge, make sure you regularly clean the door gasket. Doing this can ensure a perfect seal of the fridge door and minimize potential ice buildup in your fridge.
To clean a door gasket:
- Dampen a cloth with warm water and a few drops of pH-neutral cleaner (such as dish soap).
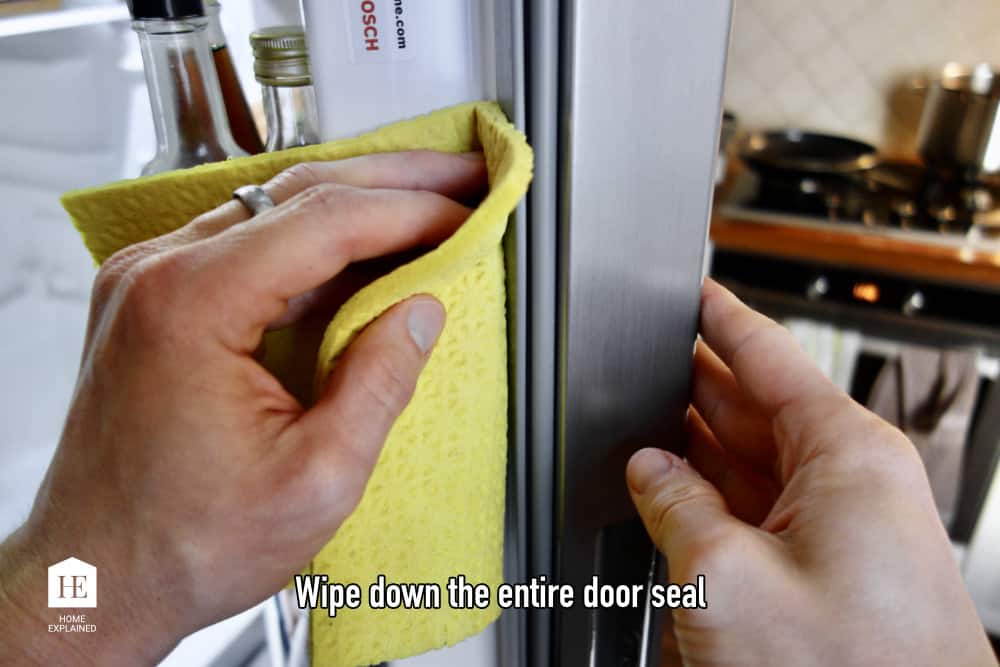
- Wipe down the entire door seal, making sure to get into all the crevices.
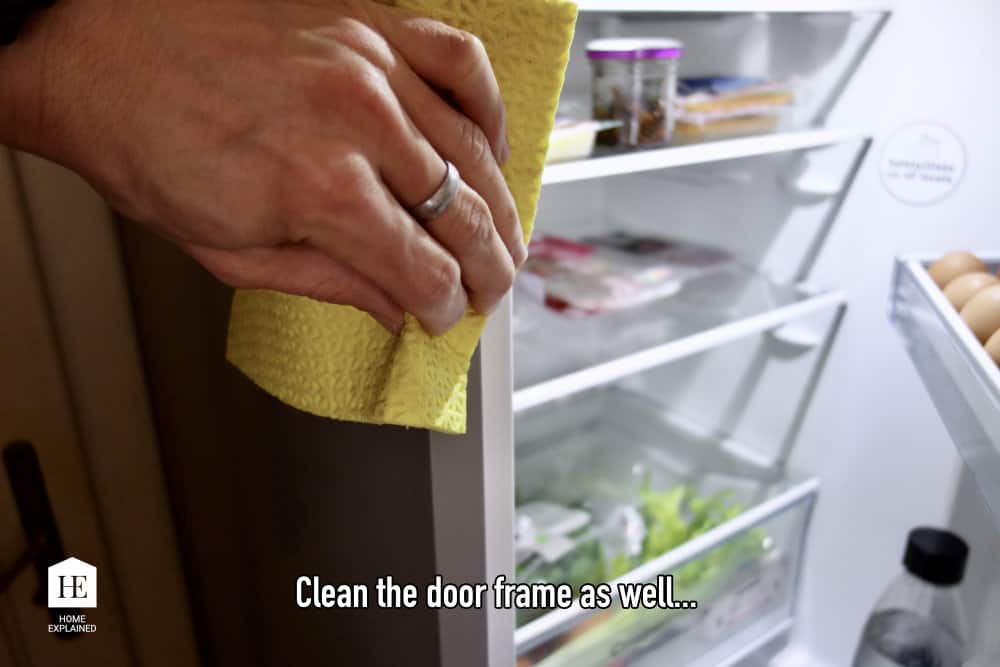
- Clean the door frame against which the door seal is pressed when closed.
- Dry off any excess moisture and check for any signs of damage or wear. If necessary, replace the gasket.
Check your refrigerator door seal with the dollar bill test
The easiest way to check if your fridge door seals properly is by conducting the dollar bill test.
To do the test:
- Take a dollar bill and close the fridge door on it.
- If the dollar bill falls out of the door frame or can be pulled out with minimal to no resistance, then there is air leaking out, and ice will build up.
- Test a couple of different places around the perimeter of the door for a full assessment.
Minimize Humidity in Your Fridge
Another simple way to prevent excess condensation and ice buildup in your fridge is to minimize the humidity in your fridge. Here are some tips to help you do this:
- Avoid frequent opening and closing of the door.
- Avoid putting humid or warm – just cooked foods in your fridge.
- Do not leave an open water jug or any other open liquids in your fridge.
- Make sure the fridge door seals tightly.
- Keep food covered or stored in airtight containers.
- Keep fresh fruits and vegetables in the crisper drawer.
- Regularly wipe down excess condensation from the walls and drawers.
- Keep food organized and evenly spaced to keep proper air circulation.
- Try fridge dehumidifier.
These simple tips can help prevent ice buildup in your fridge and keep it running smoothly.
How to Remove Ice From the Bottom of a Bosh Fridge
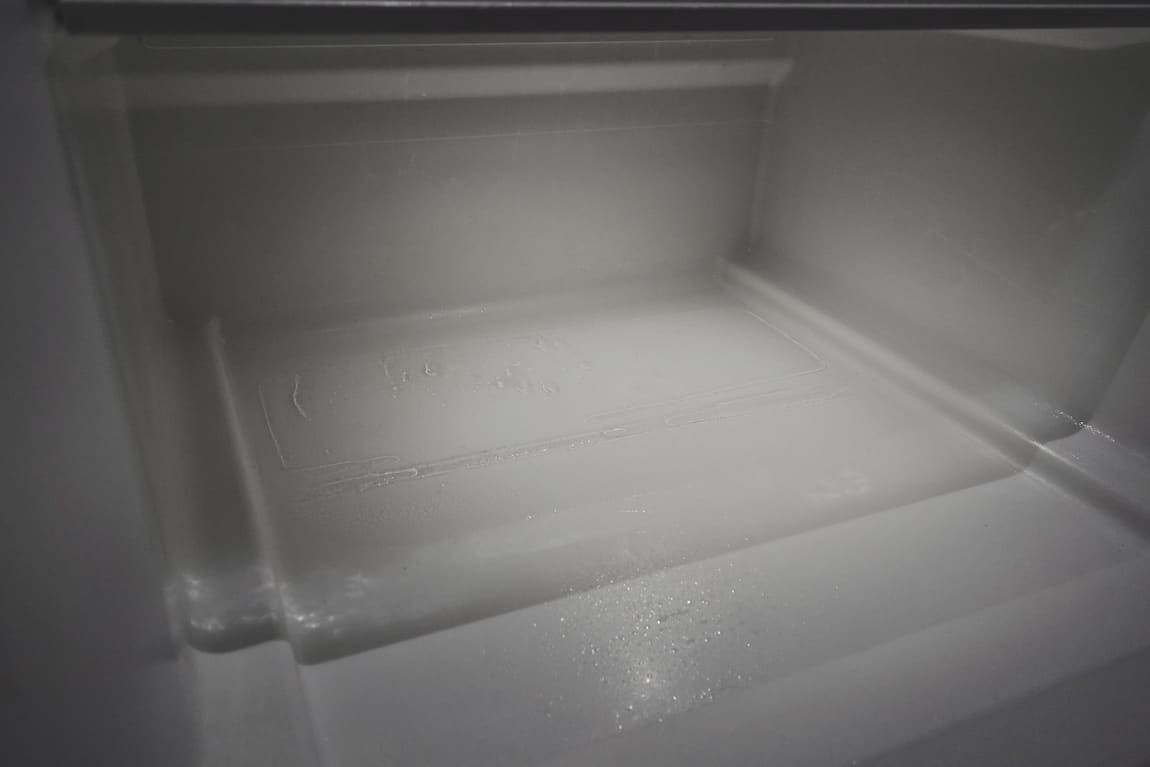
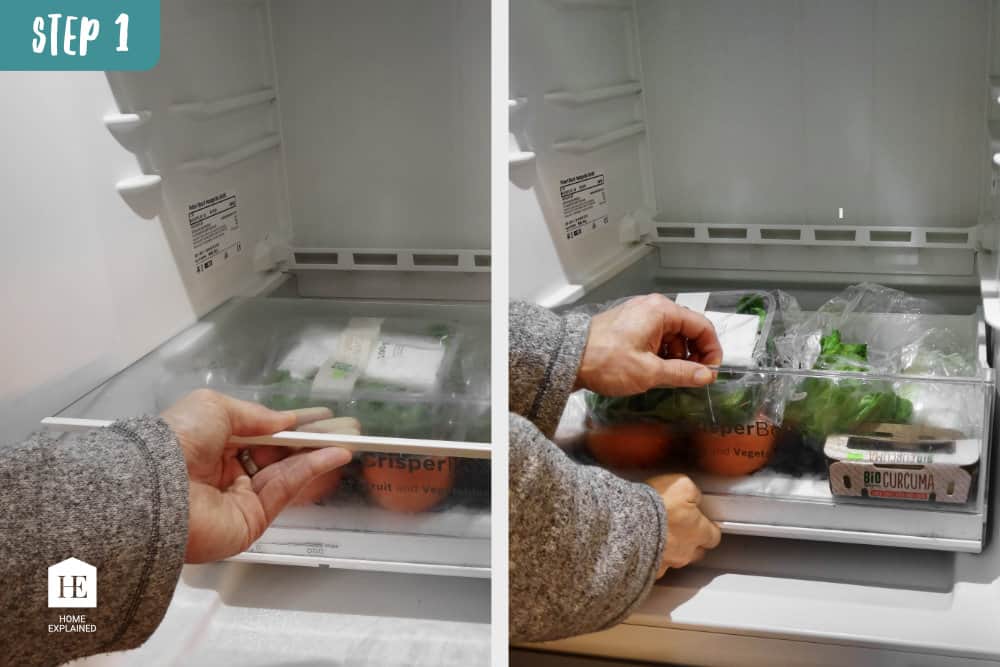
In this section, we’ll show you how we dealt with ice buildup in our BOSCH KGV33VL30 fridge freezer, which started icing up at the bottom of the fridge, right under the crisper (vegetable) drawer. Since the ice buildup was relatively small, we solved this problem without the need to defrost the fridge.
To clean the defrost drain and remove the ice, follow these steps:
- Remove the bottom shelf and the crisper drawer.
- Lift the plastic cover (if applicable) to reveal the defrost drain.
- Use a cotton swab, flexible wire brush, or stiff wire to clear away any dirt that is blocking the drain inlet. Flush with warm water to see if the drain clears. For more cleaning tips, check out the previous section.
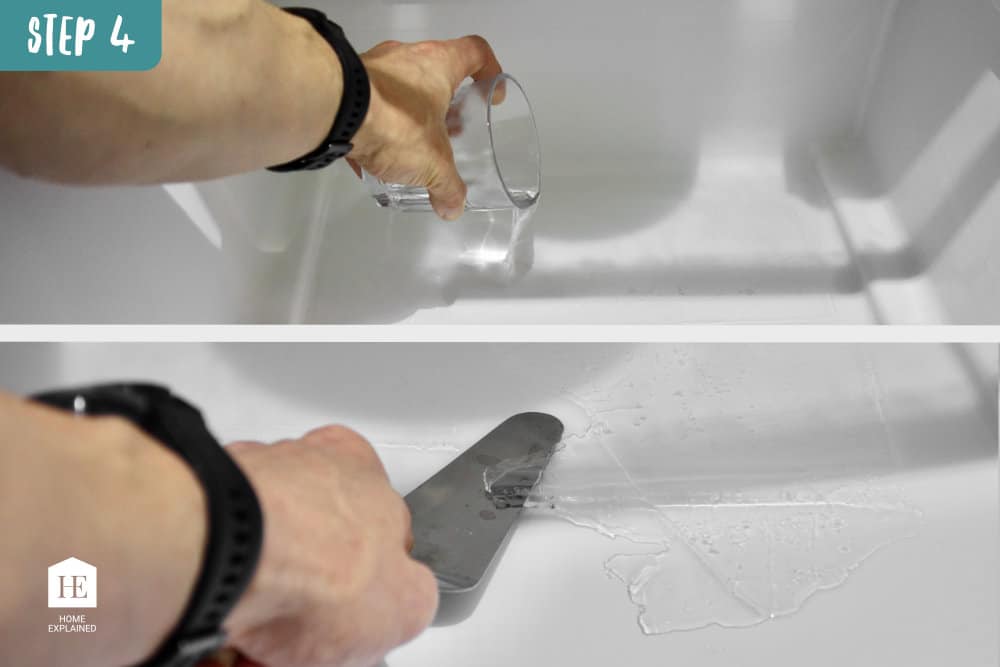
- Pour a small pot of hot water to loosen the ice buildup. Use a plastic scraper or a blunt kitchen knife to remove ice from the bottom of the fridge.
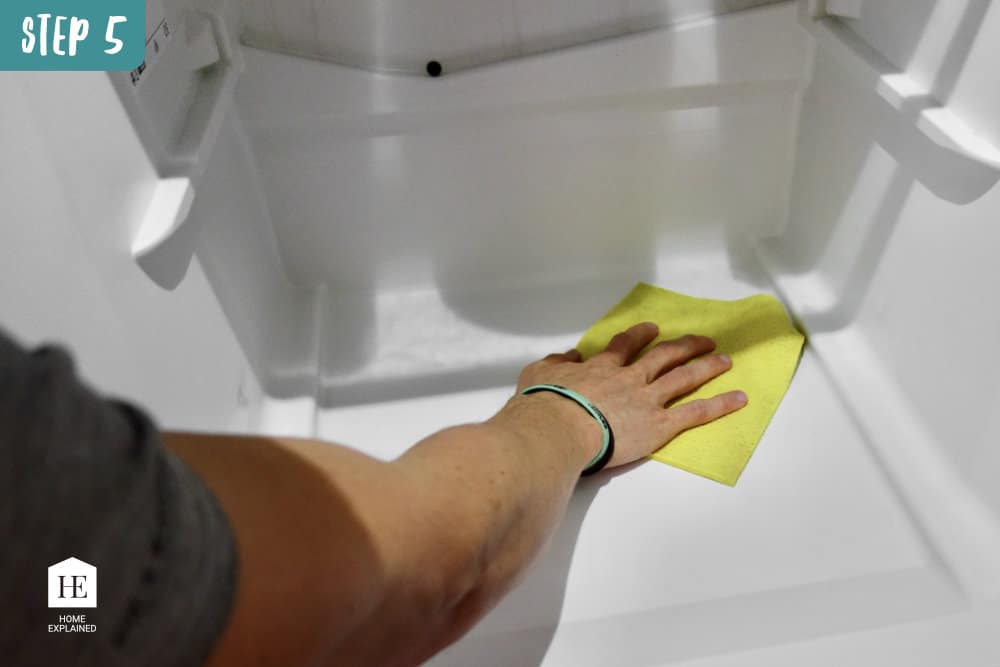
- Wipe away any ice and water residue with a cloth until completely dry.
- Put the crisper drawer back and replace the shelf. If ice continues to build up, check the condition of the door seal, as explained in the previous section.




0 Comments